


When you work with Cerakote, proper storage is just as important as proper application. Cerakote isn’t cheap, and exposure to temperature swings or moisture can significantly shorten its usable life. I wanted a dedicated storage solution that would protect my investment, keep everything organized, and still be easy to move around my shop. What started as a simple cabinet kit from Wayfair turned into a fully insulated, temperature- and moisture-controlled rolling Cerakote cabinet.
//Building a Climate-Controlled Rolling Cabinet for Cerakote Storage
Building a Climate-Controlled Rolling Cabinet for Cerakote Storage

Choosing the Base Cabinet
The foundation of this build is the Rolling Cart with Casters Metal Storage Cabinet for Tool with 2 Adjustable Shelves by Ebern Designs, purchased from Wayfair.com for $125. The cabinet measures 35.4 inches wide, 16.5 inches deep, and 31.5 inches tall, which turned out to be the perfect size for storing Cerakote bottles without taking up too much floor space.
Assembly was straightforward and took me about 45 minutes from start to finish. The instructions were clear, the metal panels lined up well, and the cabinet felt solid once assembled. The locking casters were a nice bonus, allowing the cabinet to roll easily while staying stable when locked in place.

Choosing the Base Cabinet
The entire purpose of this cabinet was to extend the shelf life of my Cerakote. After doing some research, I found several important storage guidelines:
-
Unopened Cerakote bottles can last 3+ years
-
Opened bottles typically last 1–2+ years
-
Bottle tops and inside caps should be cleaned regularly
-
Teflon tape should be wrapped around bottle threads to improve sealing
-
Ideal storage temperature is 65–75 degrees Fahrenheit
-
Moisture exposure should be avoided
Most workshops don’t maintain perfectly consistent temperature and humidity year-round, so I wanted to create a controlled environment inside the cabinet itself.
Insulating the Cabinet
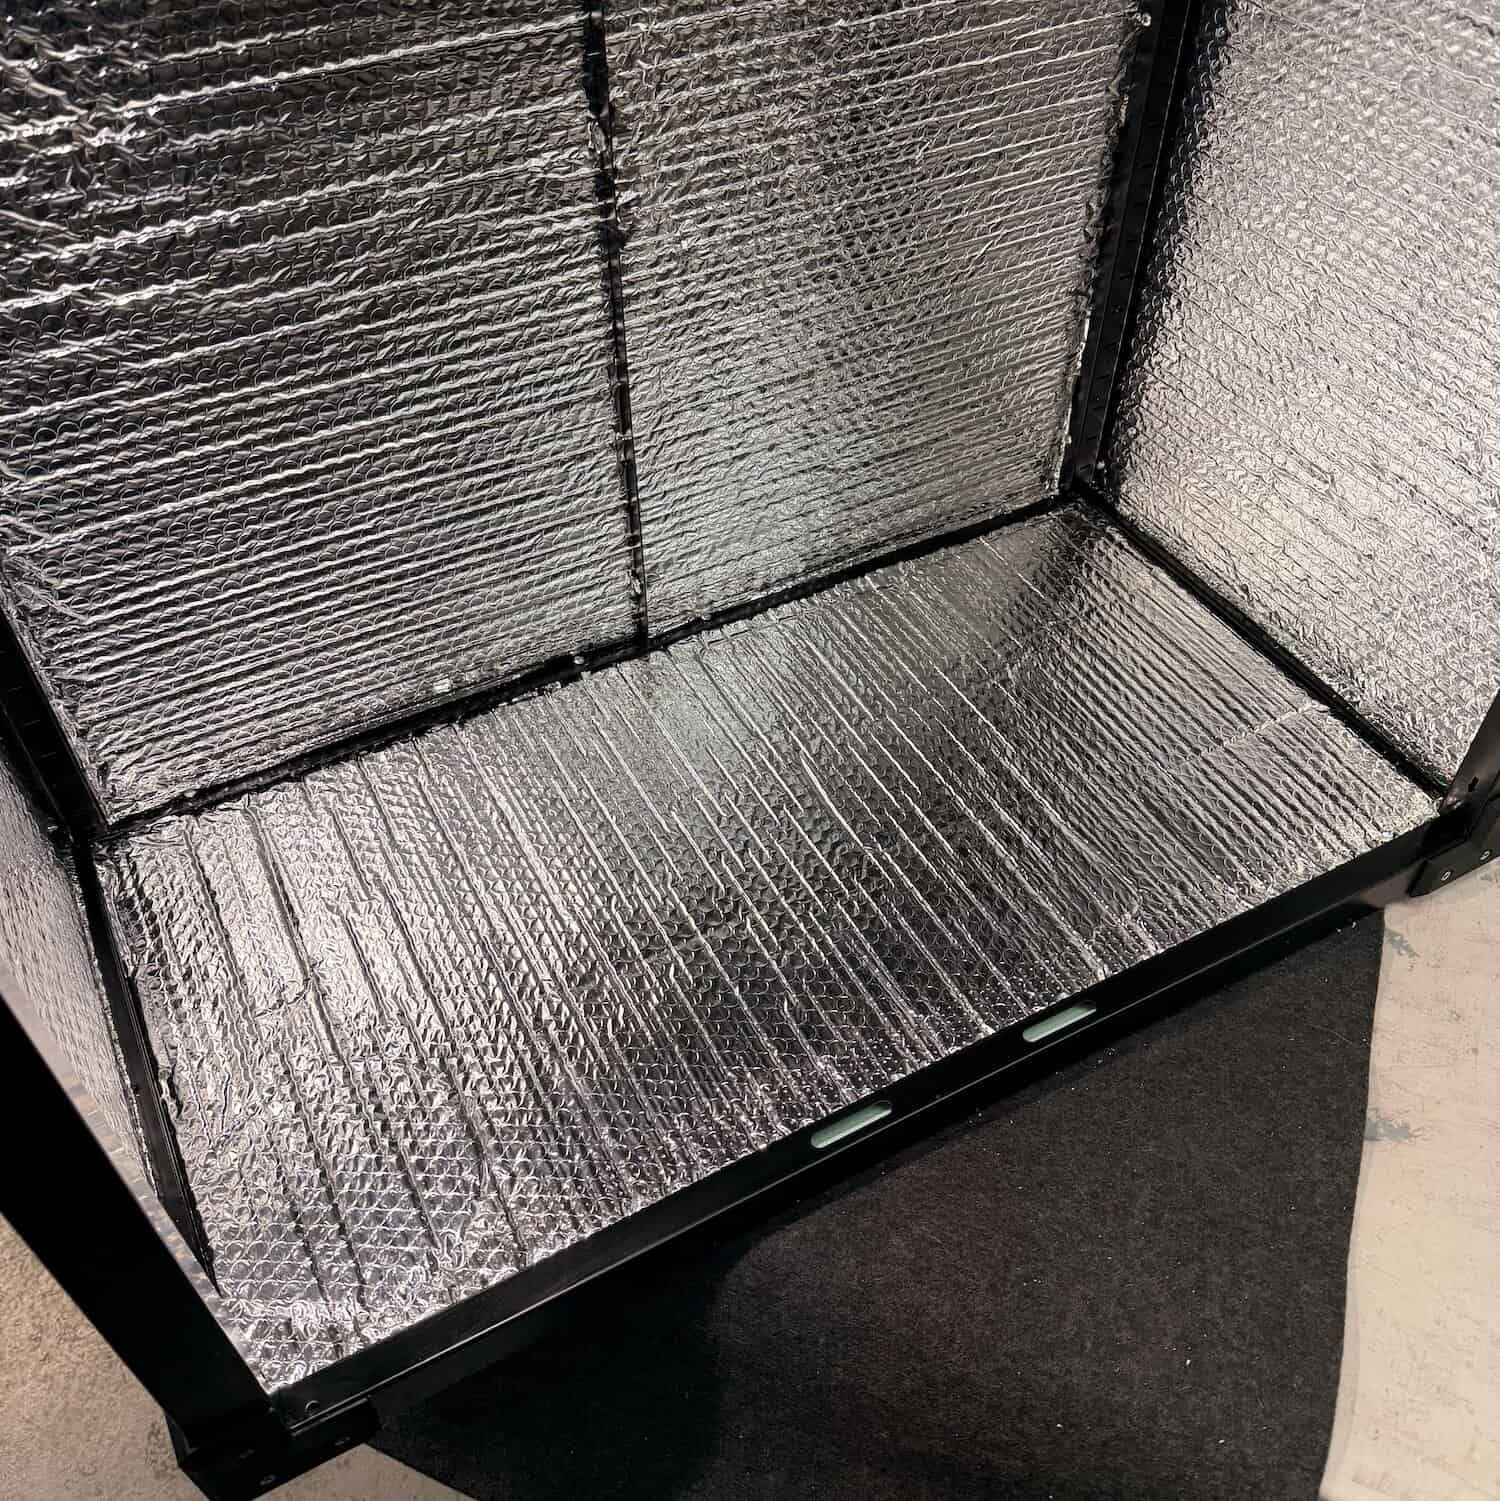
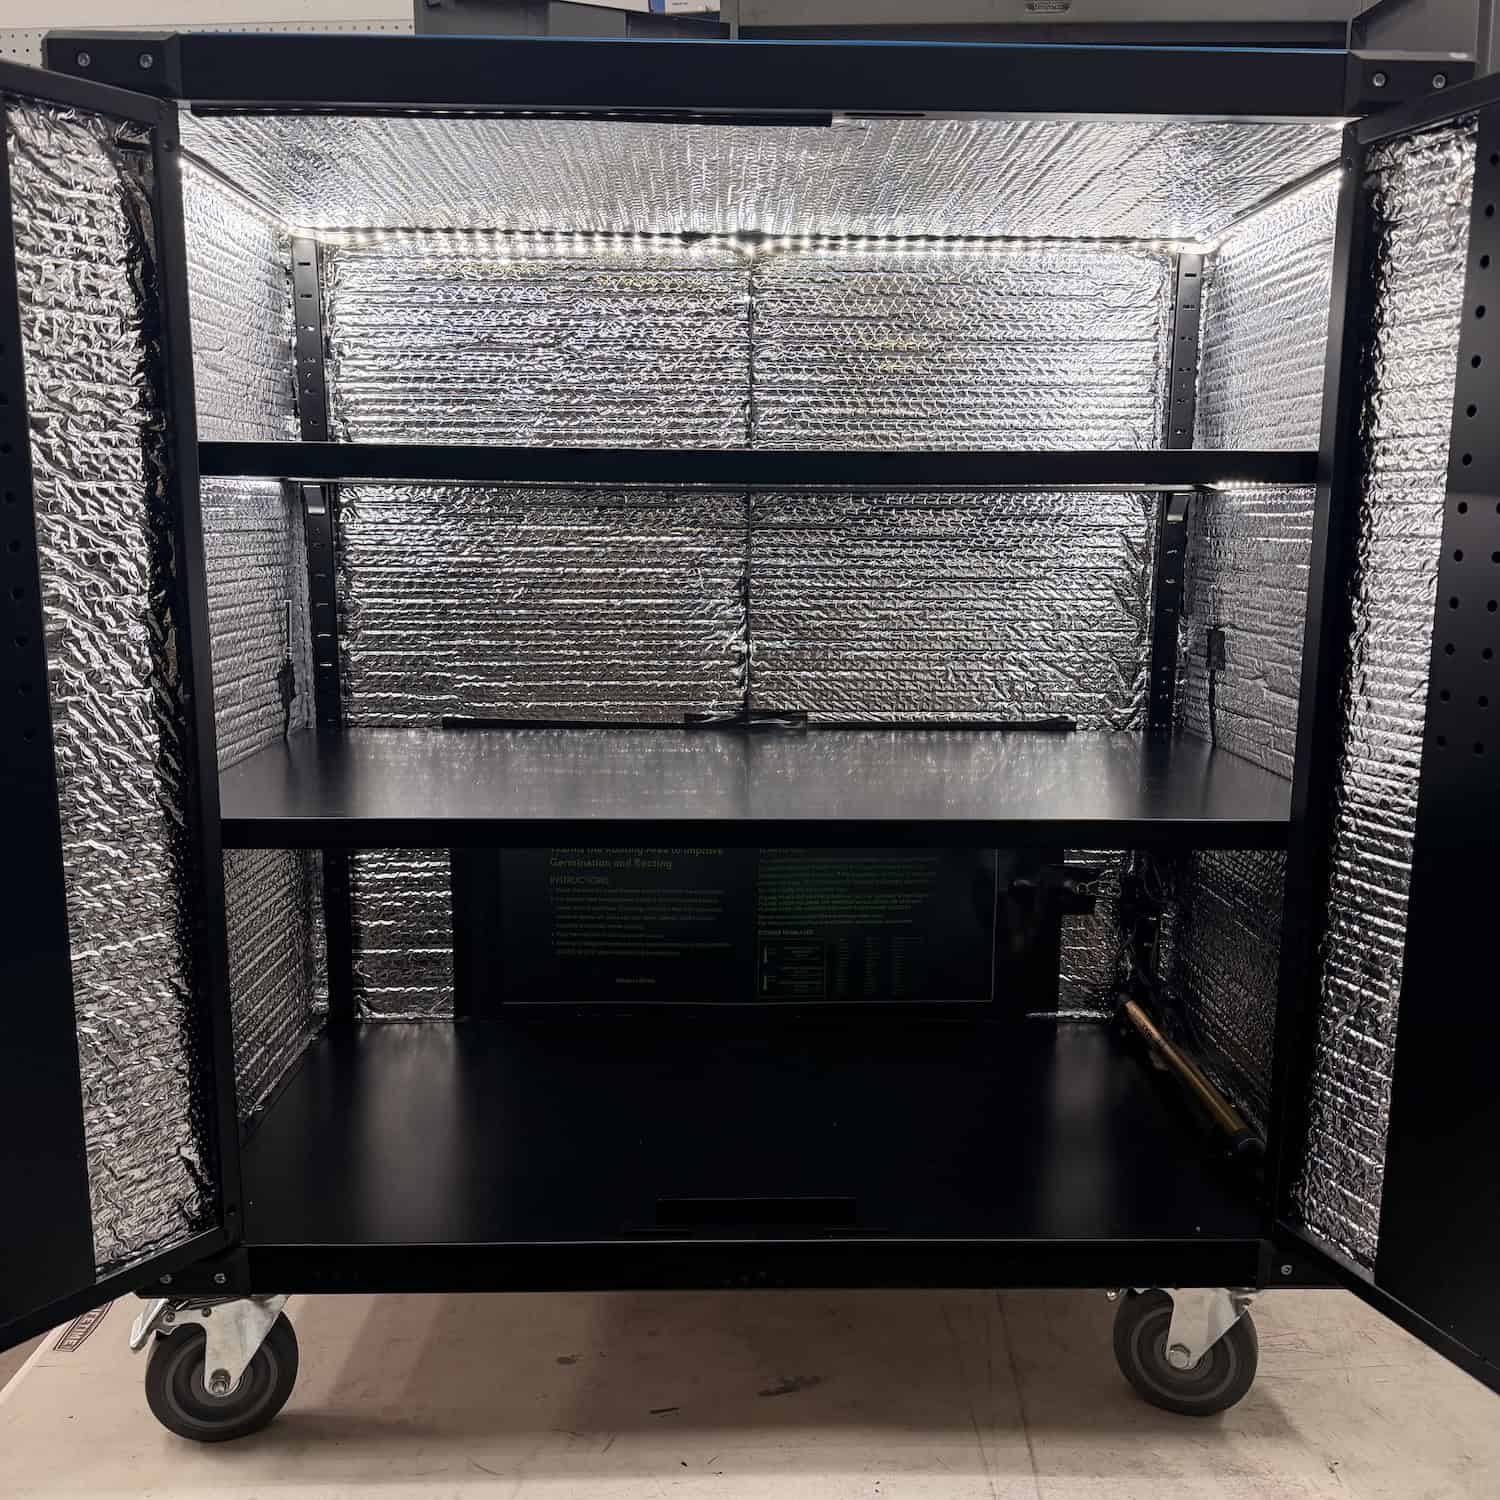
Before adding any heating or moisture-control components, insulation was the most important step. The goal was to stabilize internal temperatures and reduce energy usage once heat was introduced.
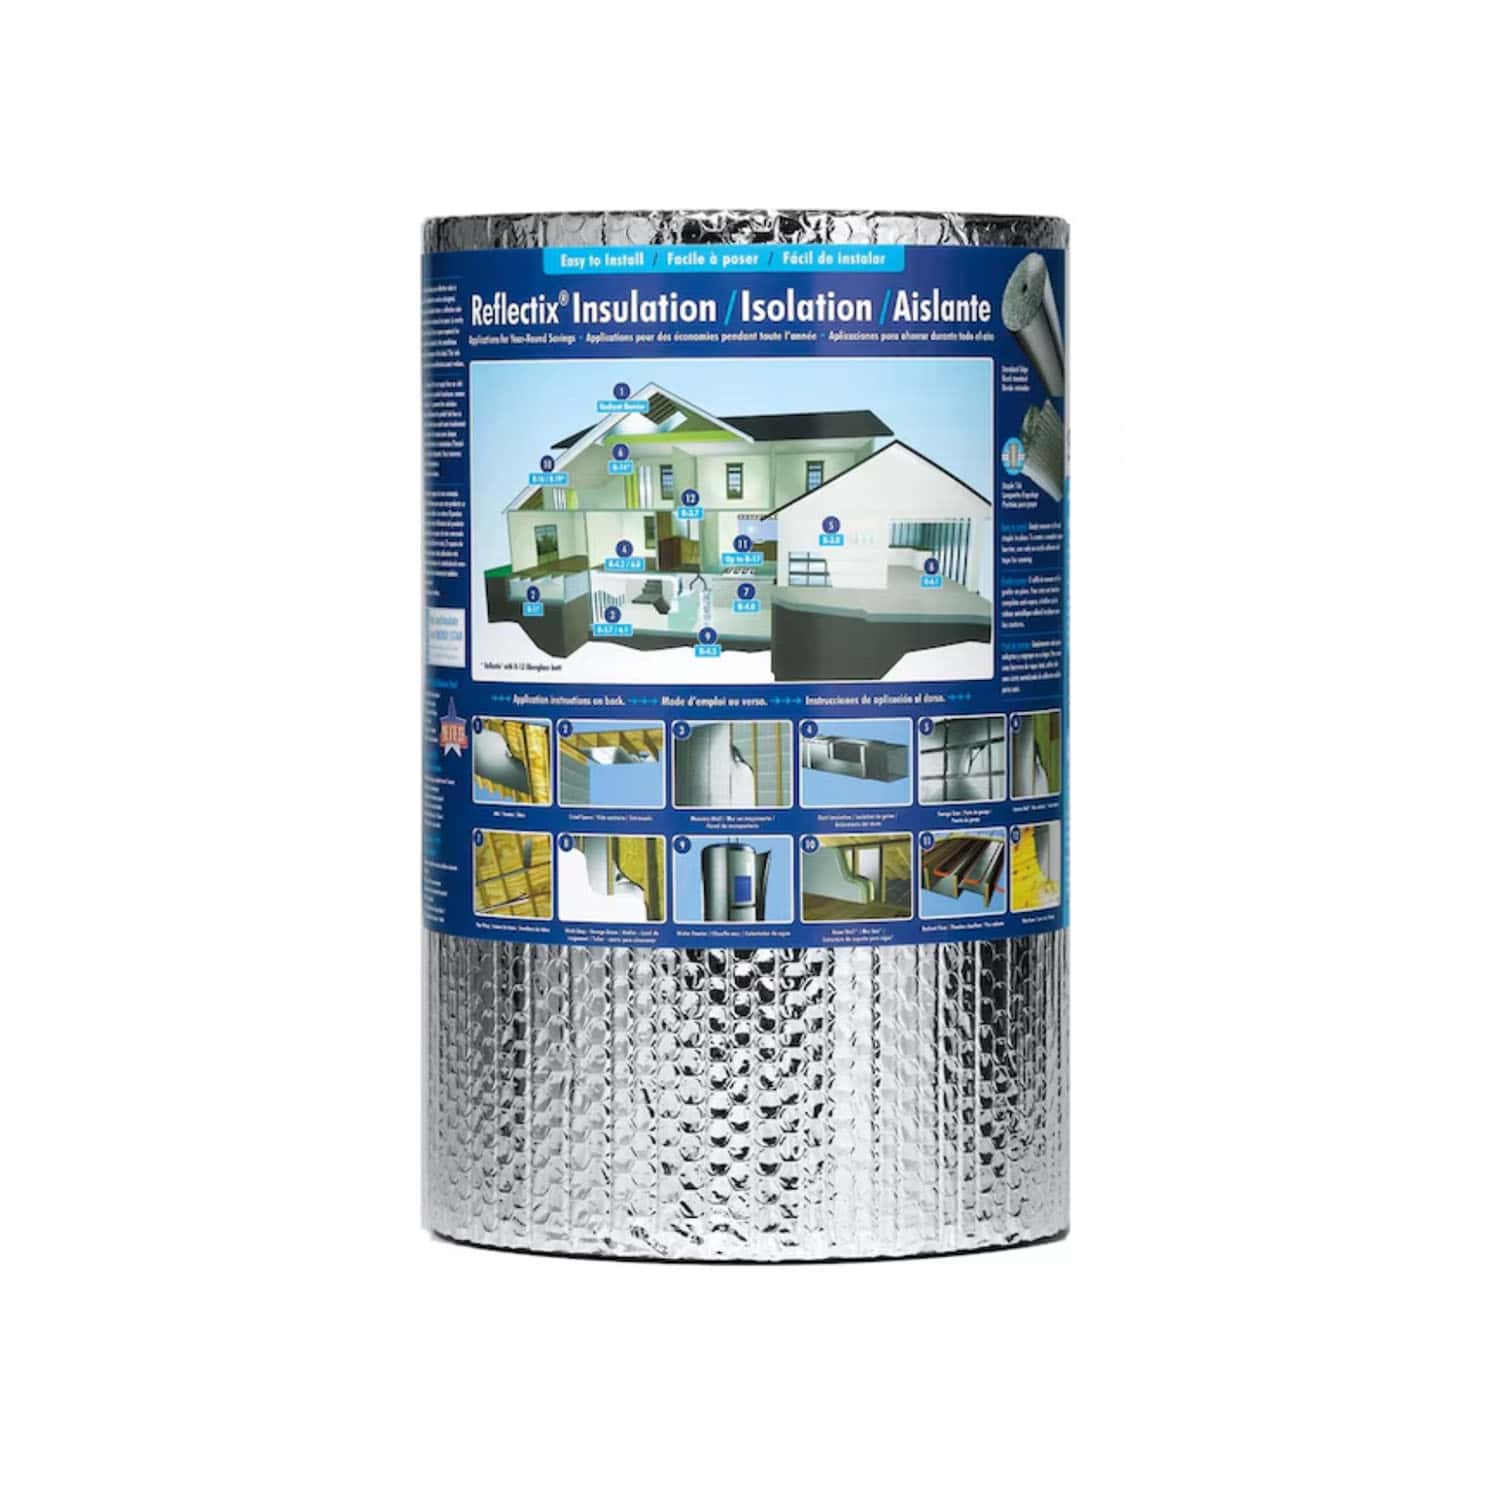
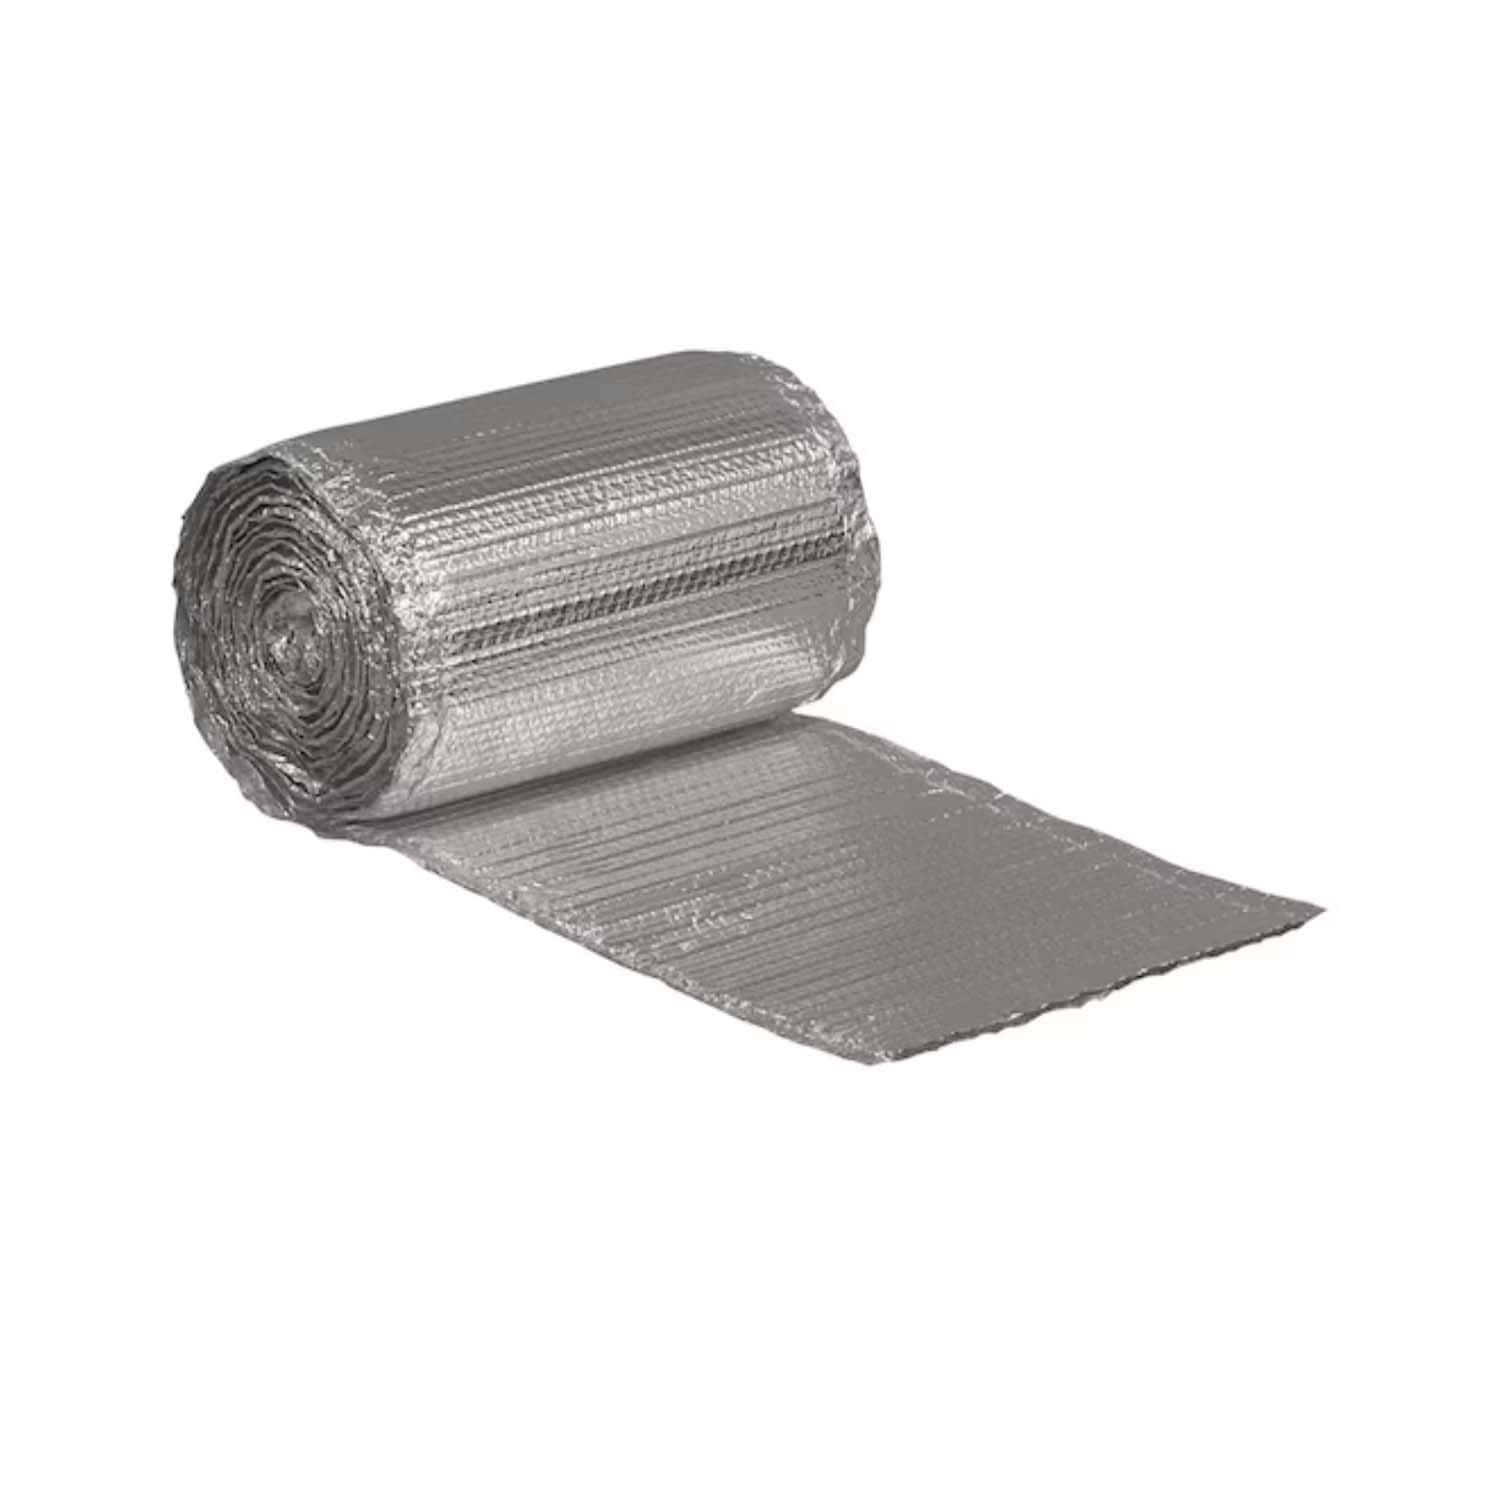
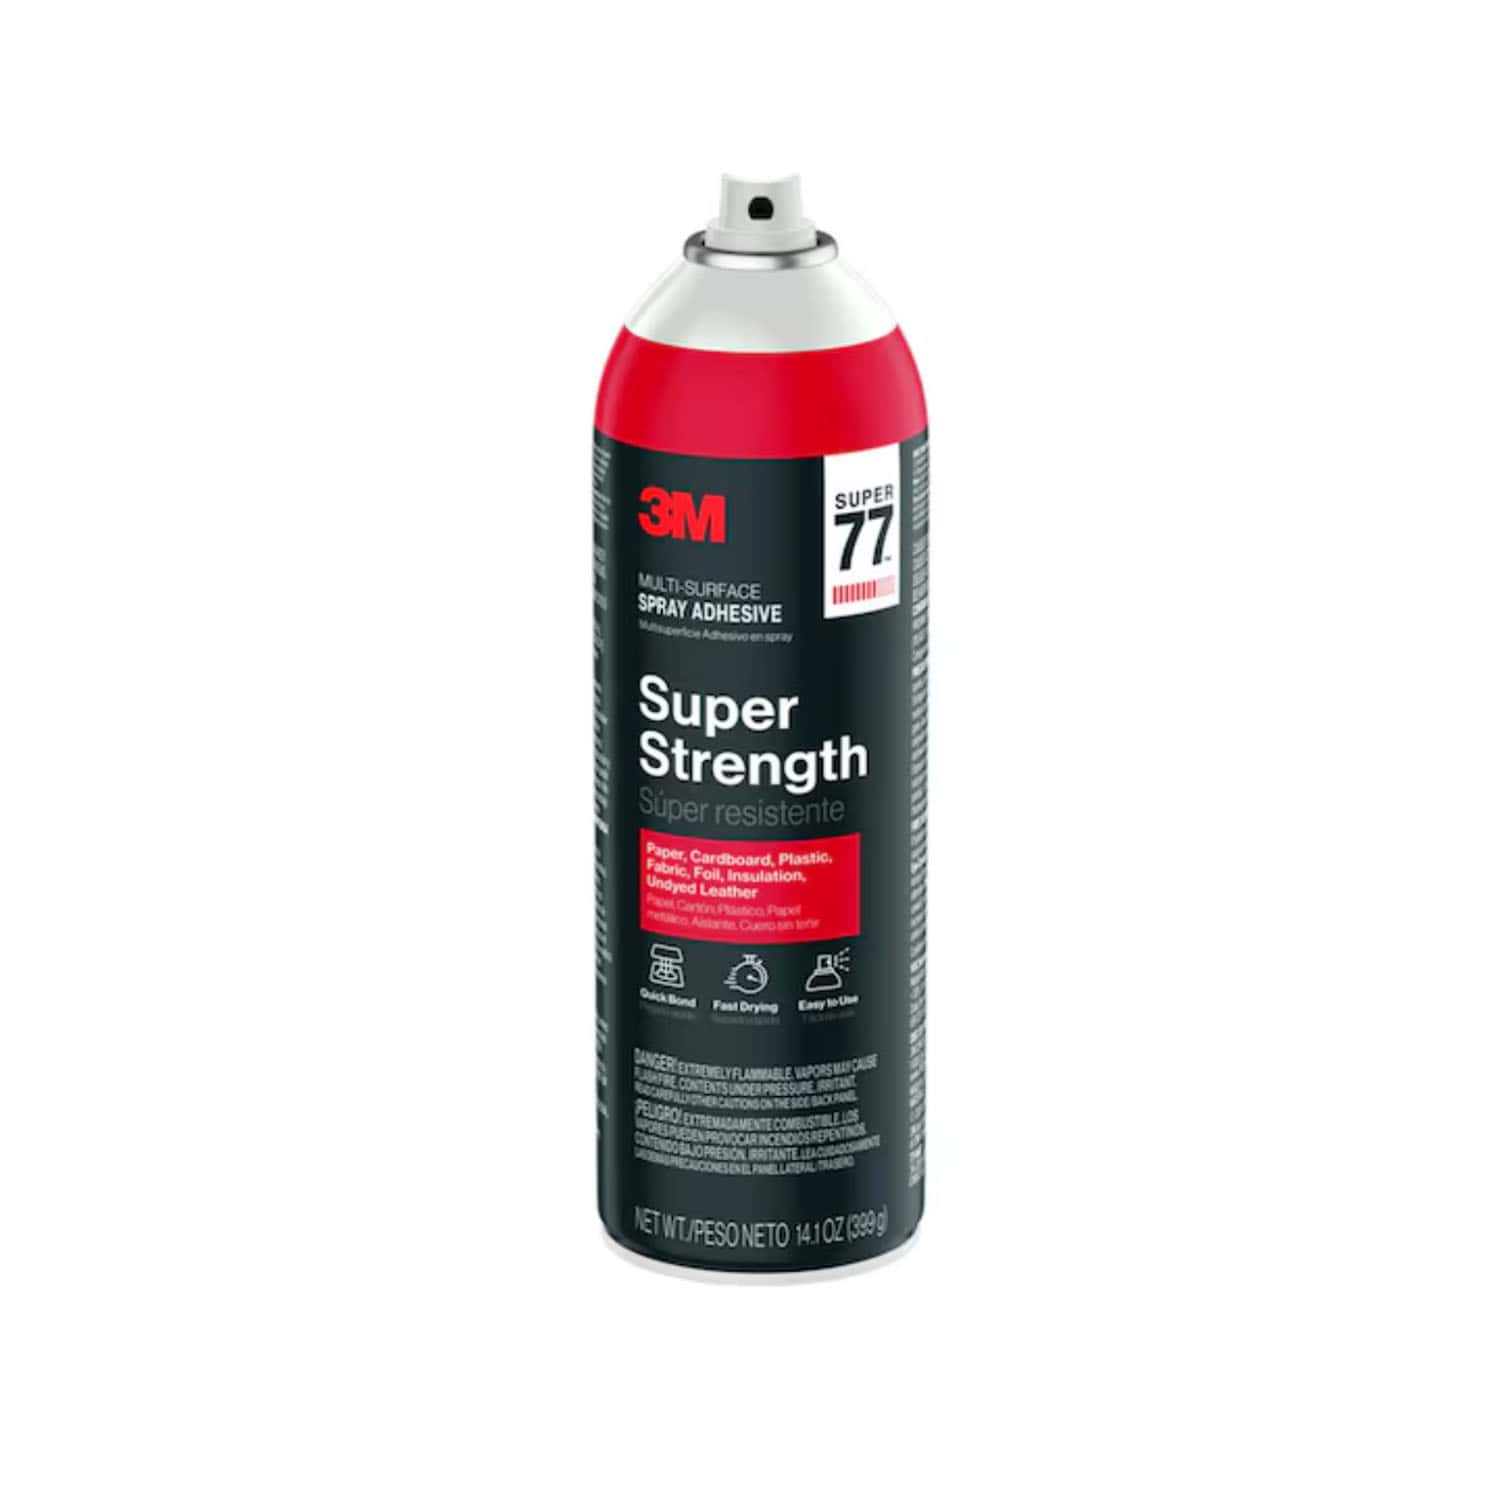
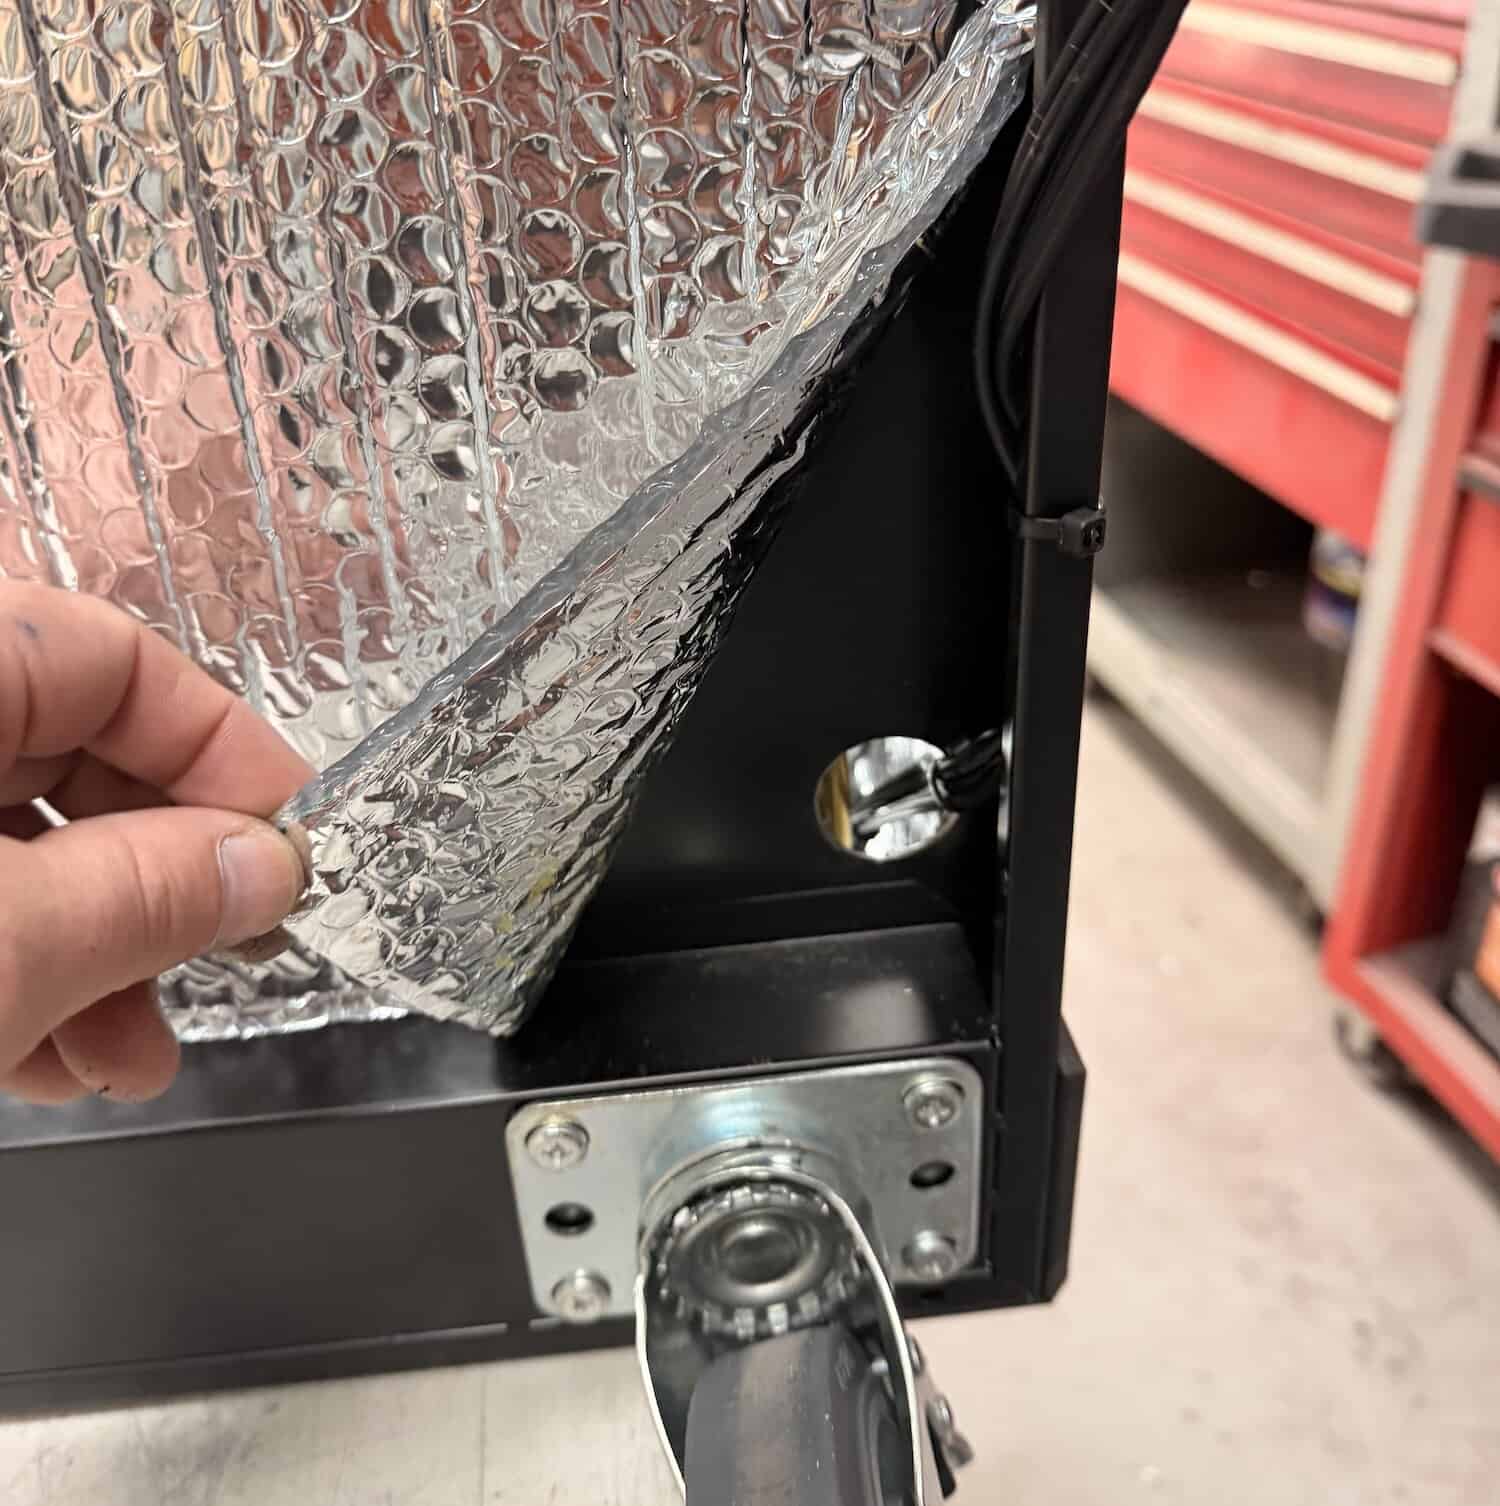
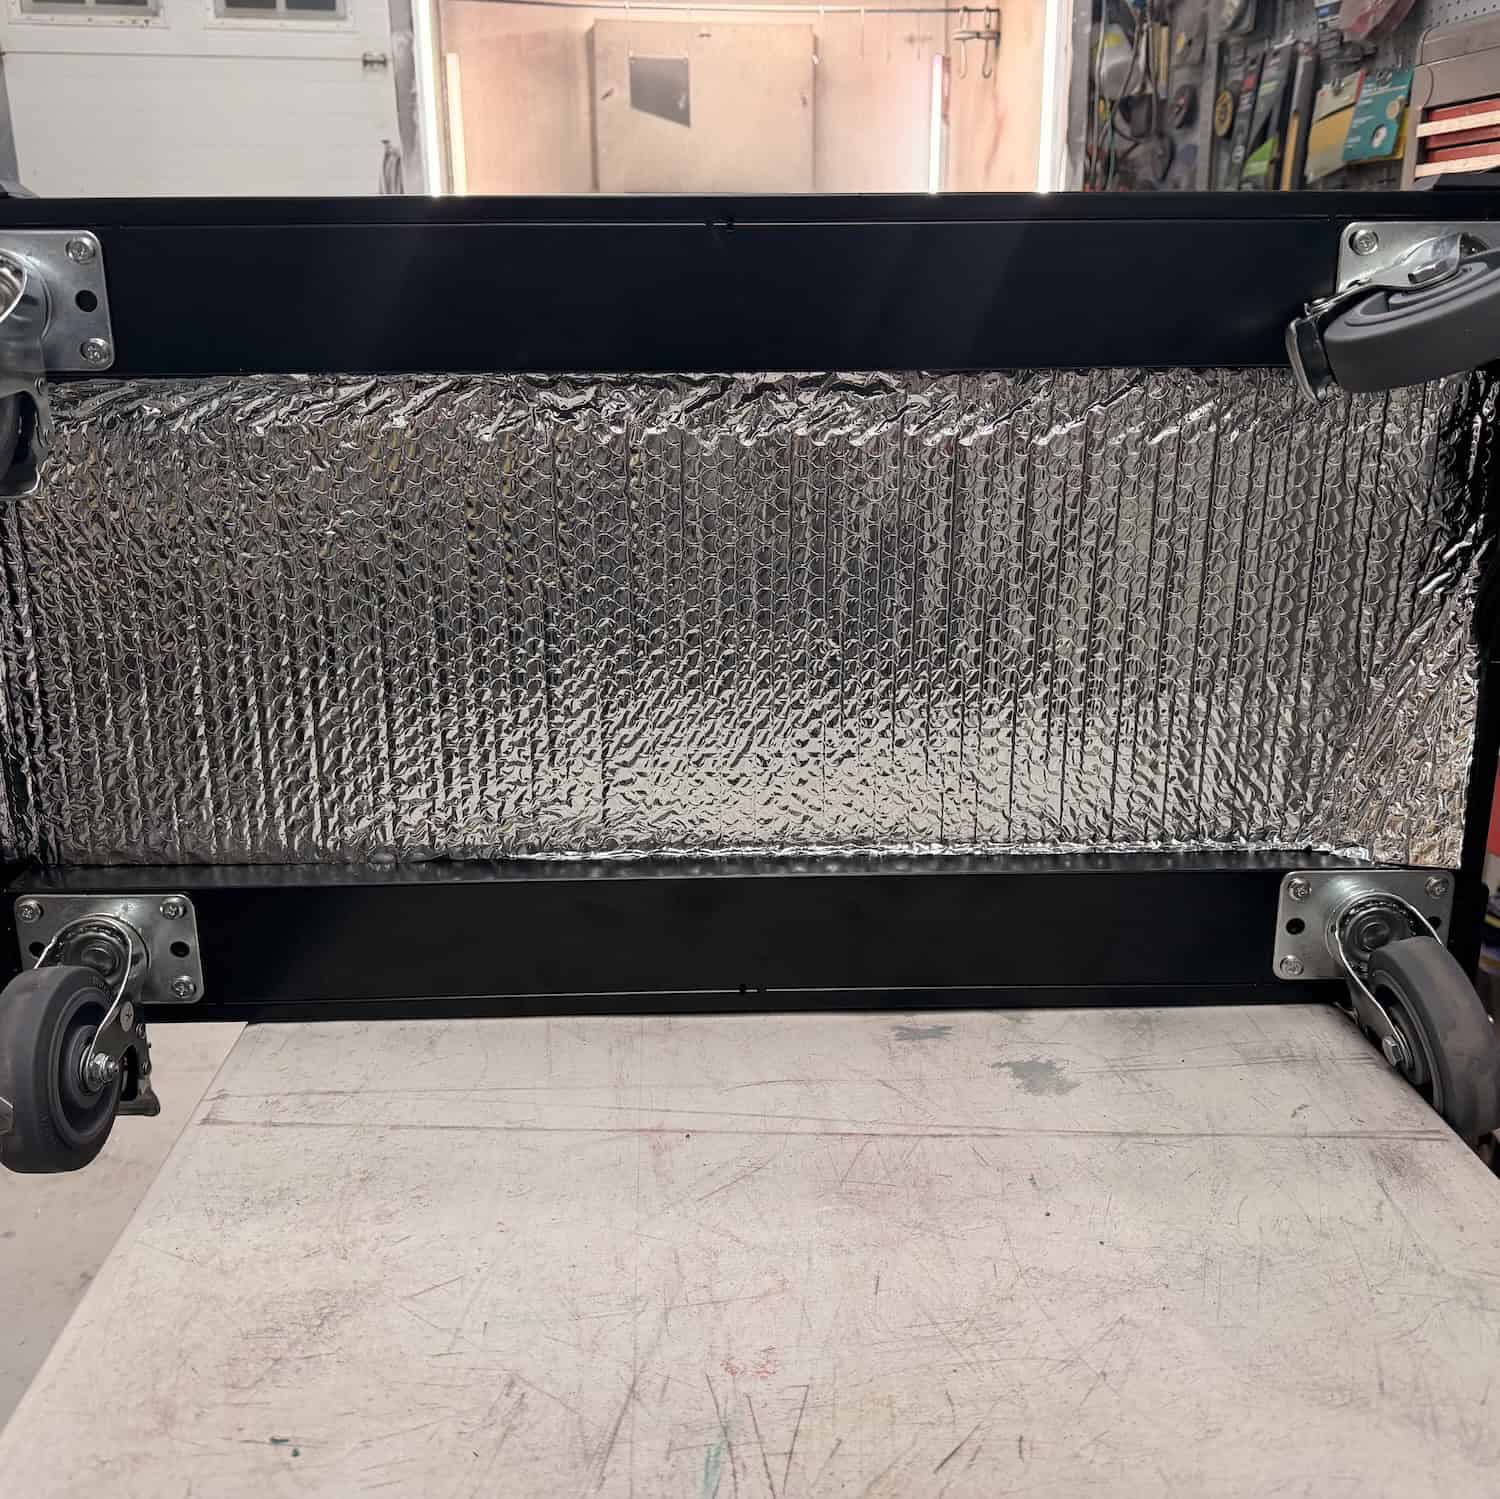
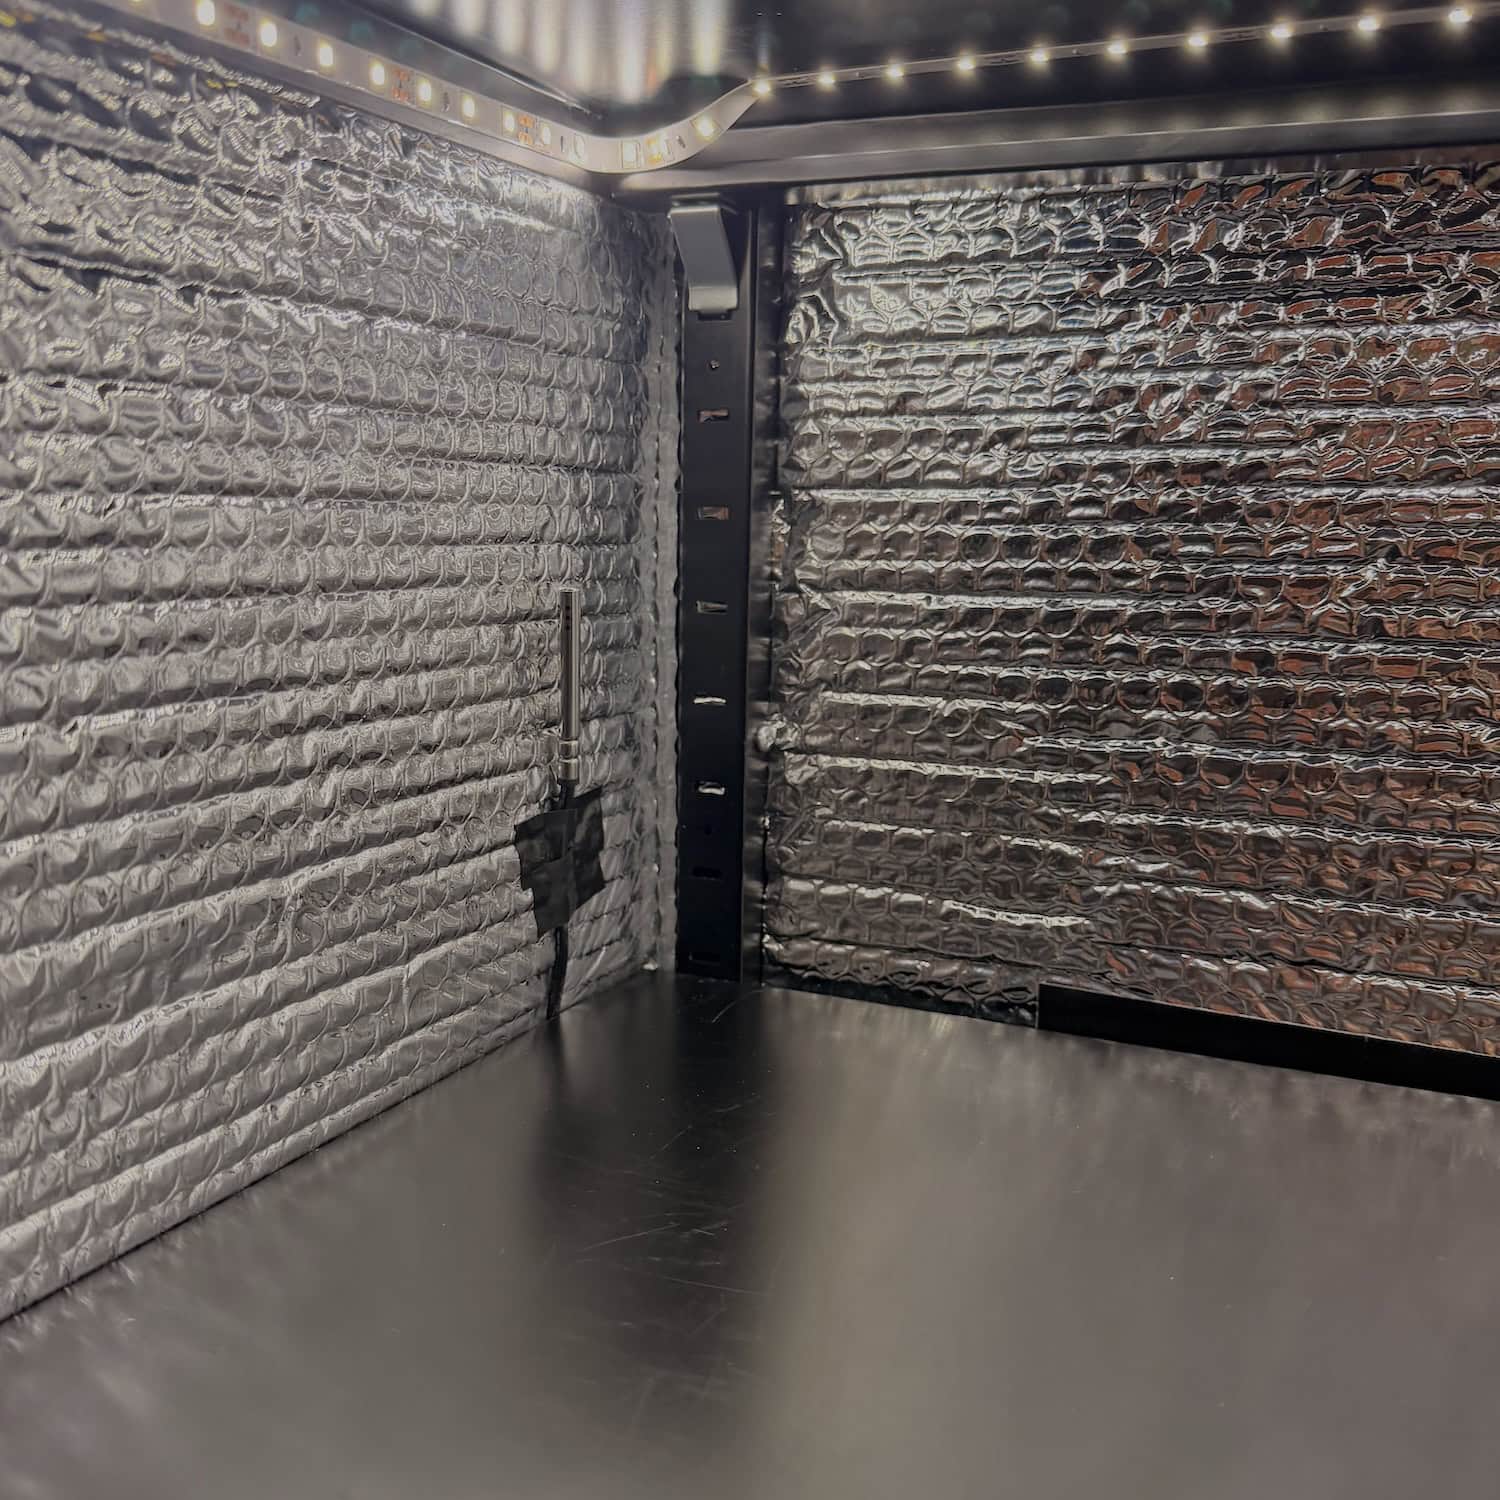
I used a Reflectix R-21 reflective insulation roll, which cost $27, and secured it using 3M Super 77 spray adhesive. I cut and installed insulation on both side walls, the back wall, the inside of both doors, the bottom exterior, and the entire top of the cabinet.
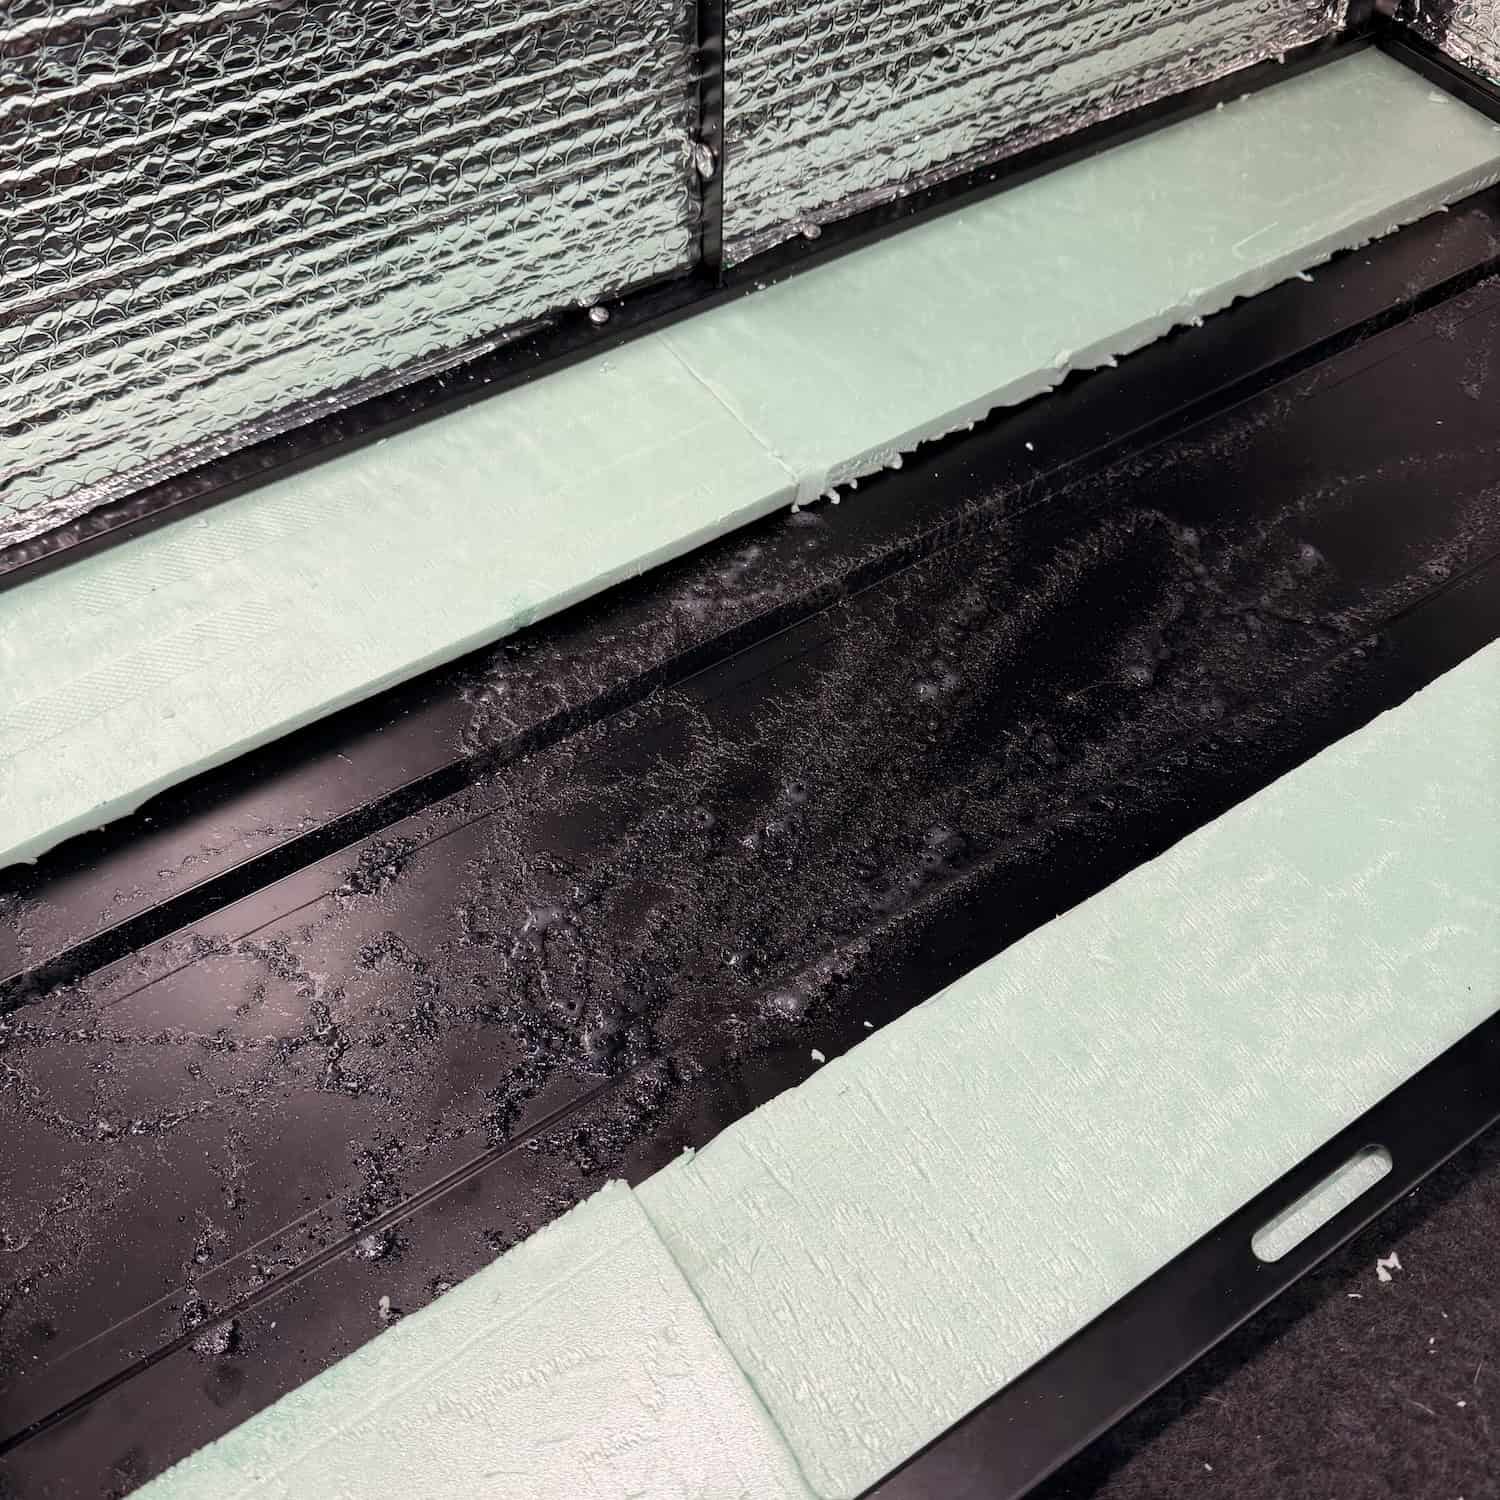
Since heat rises, I focused extra attention on insulating the ceiling. I added a 24-inch by 24-inch piece of 1-inch foam insulation, cut into strips, which cost $10. The foam completely covered the interior top panel, and I then added another layer of Reflectix over it. This ensures the area most prone to heat loss is also the most insulated.
Cutting, fitting, and gluing all of the insulation took me about 1.5 hours, but it was well worth the time for long-term efficiency and temperature stability.


Adding Heat and Moisture Control
With insulation complete, I moved on to controlling temperature and humidity inside the cabinet.
To maintain a consistent temperature, I installed a VIVOSUN durable waterproof seedling heat mat, commonly used for reptile enclosures or plant propagation. The mat cost $16 and is low voltage, making it inexpensive to run continuously.
To keep moisture out, I added a MaxSafes dehumidifier dry rod, which cost $20. Dry rods gently warm the air inside an enclosed space, preventing condensation and humidity buildup without fans or moving parts.
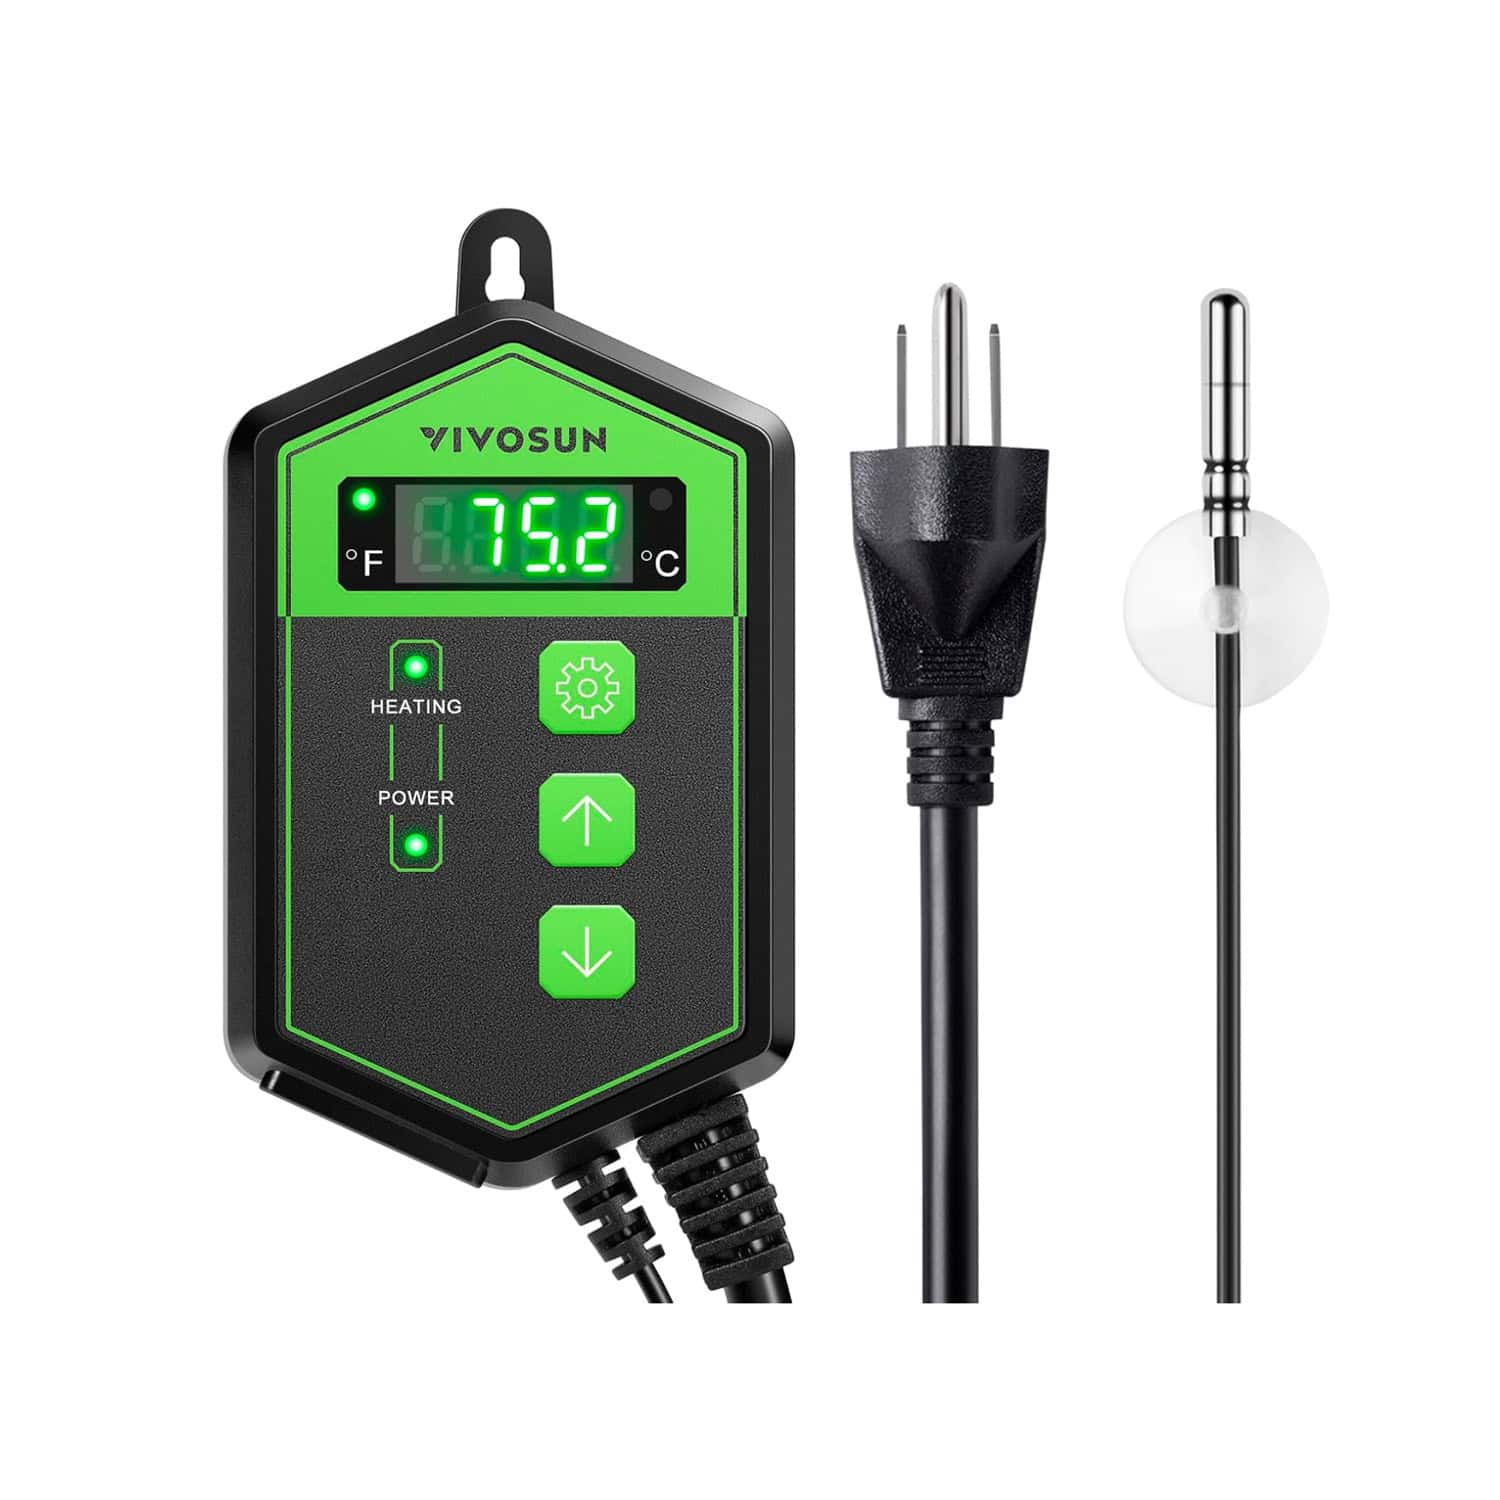
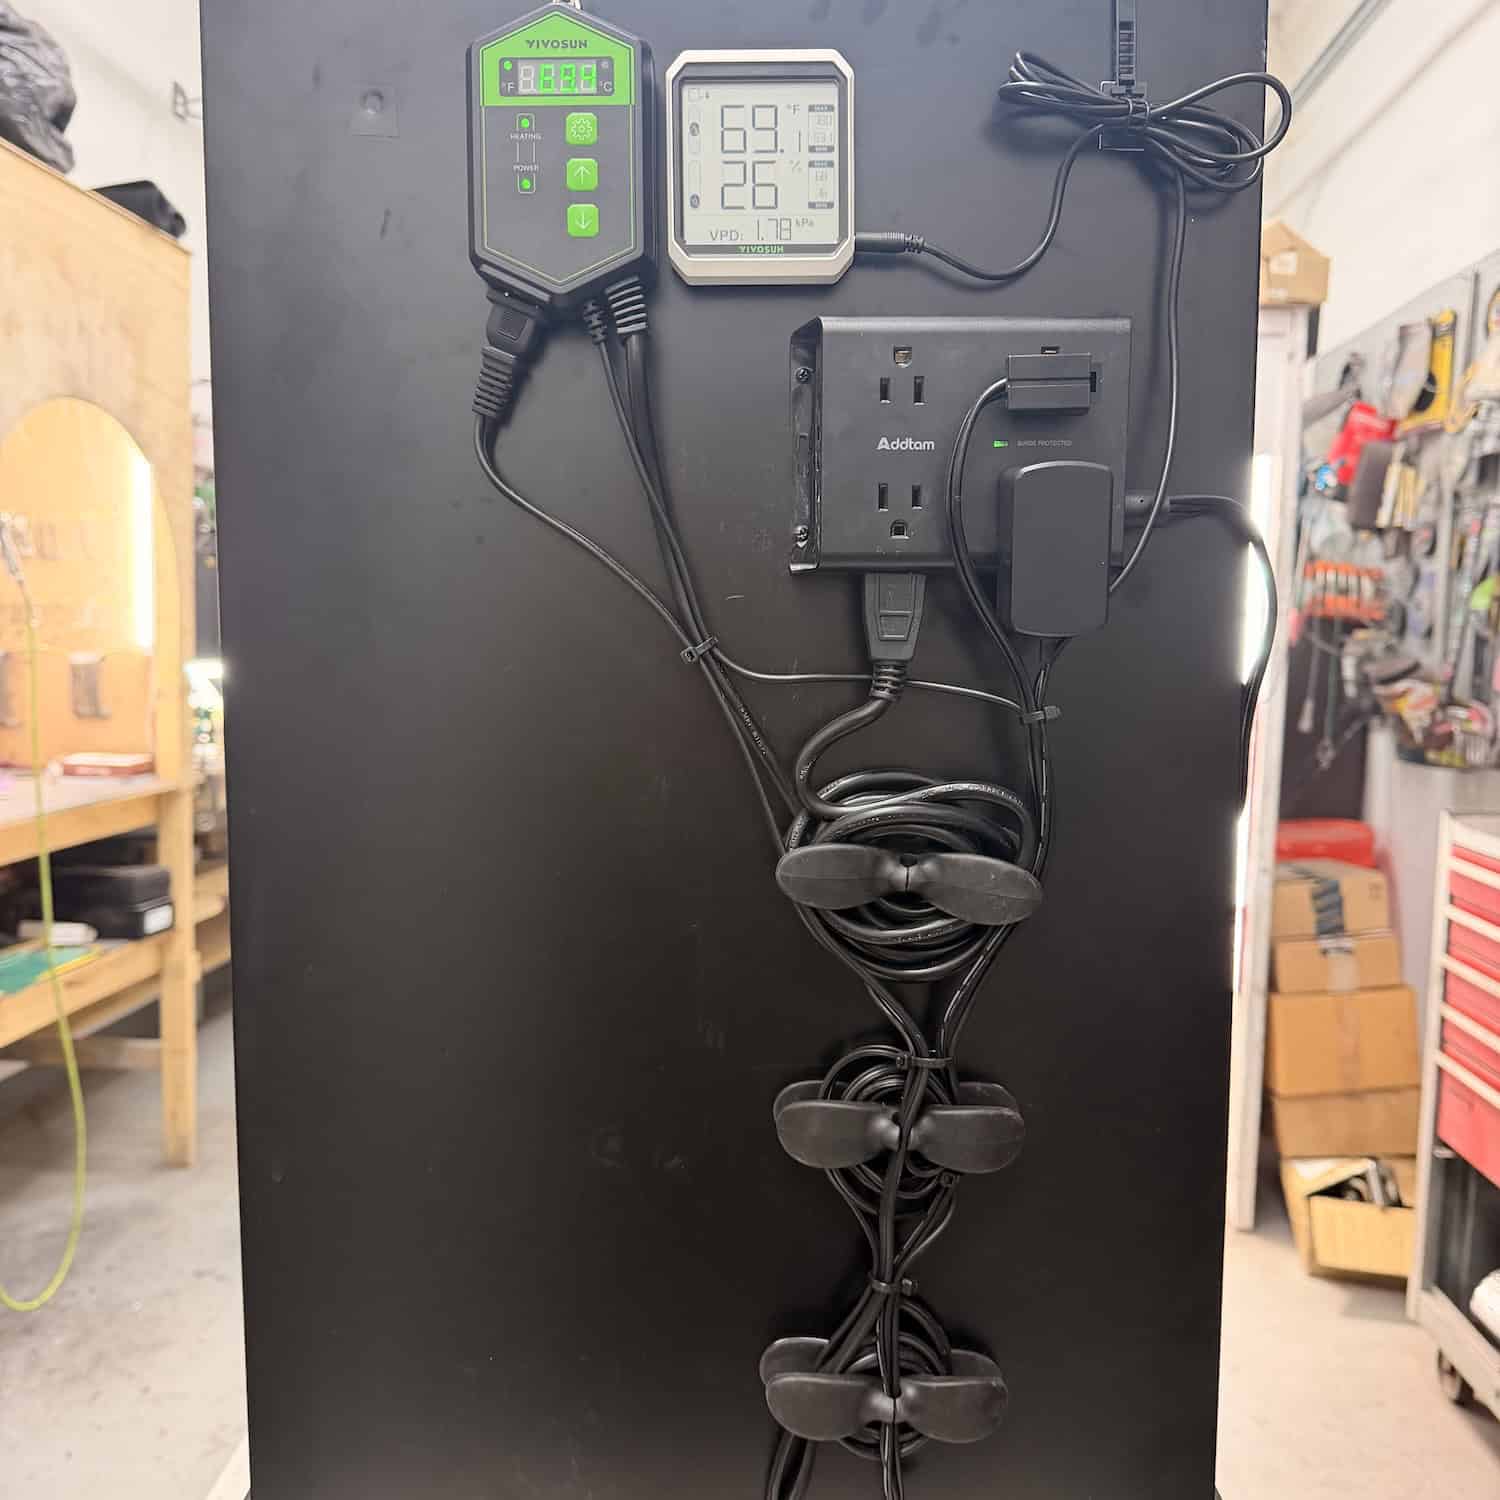
For precise temperature control, I used a VIVOSUN digital heat mat thermostat controller, which cost $17. I mounted the controller on the outside of the cabinet so I can adjust the temperature without opening the doors and disrupting the internal environment.
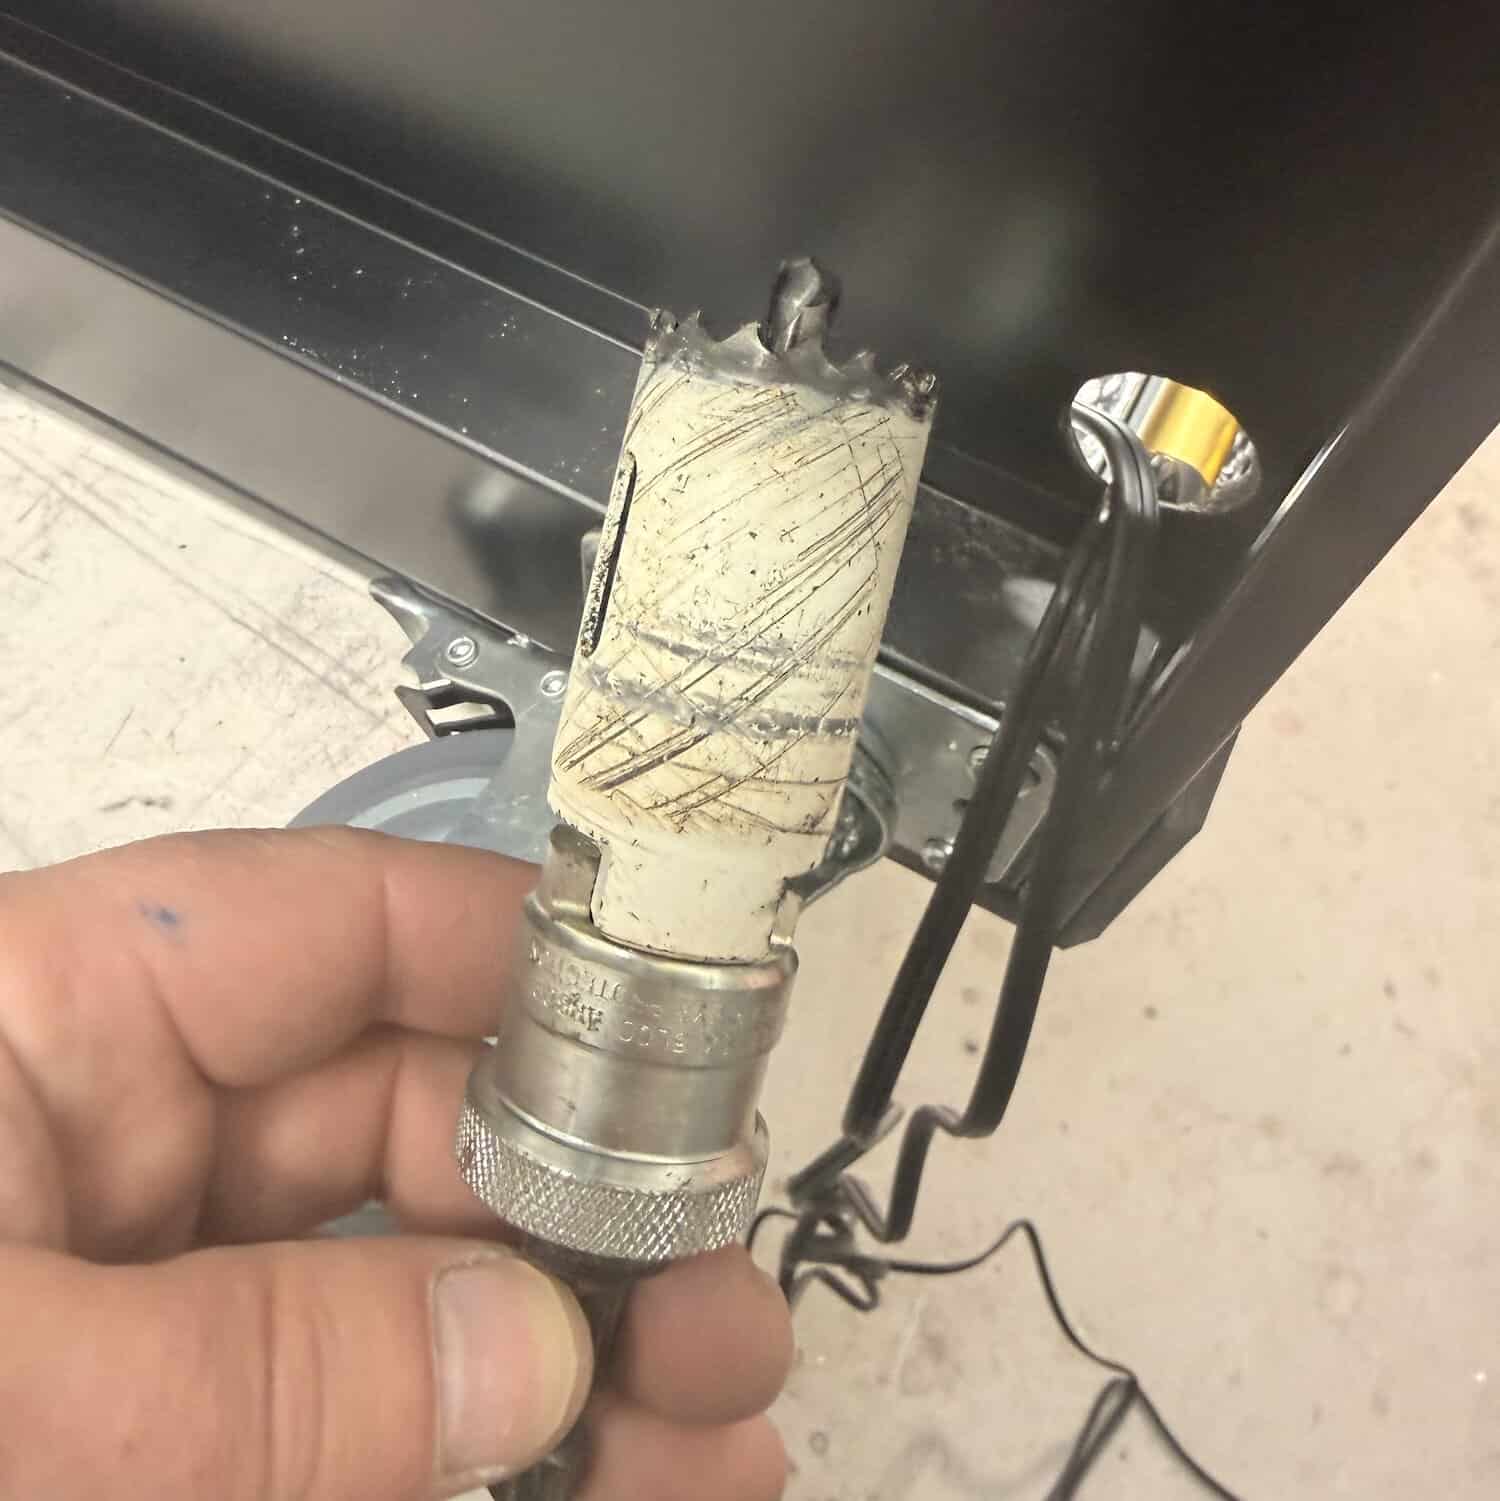
I drilled a 1-inch hole in the bottom of the cabinet (with a pilot hole) to route the cords inside. The heat mat was mounted vertically on the lower back wall using Gorilla Tape, while the dry rod was mounted along the bottom right interior floor, safely out of the way.
Installing the heat mat, dry rod, drilling the cord pass-through, and setting up the thermostat took about 30 minutes.


Monitoring Humidity and Temperature
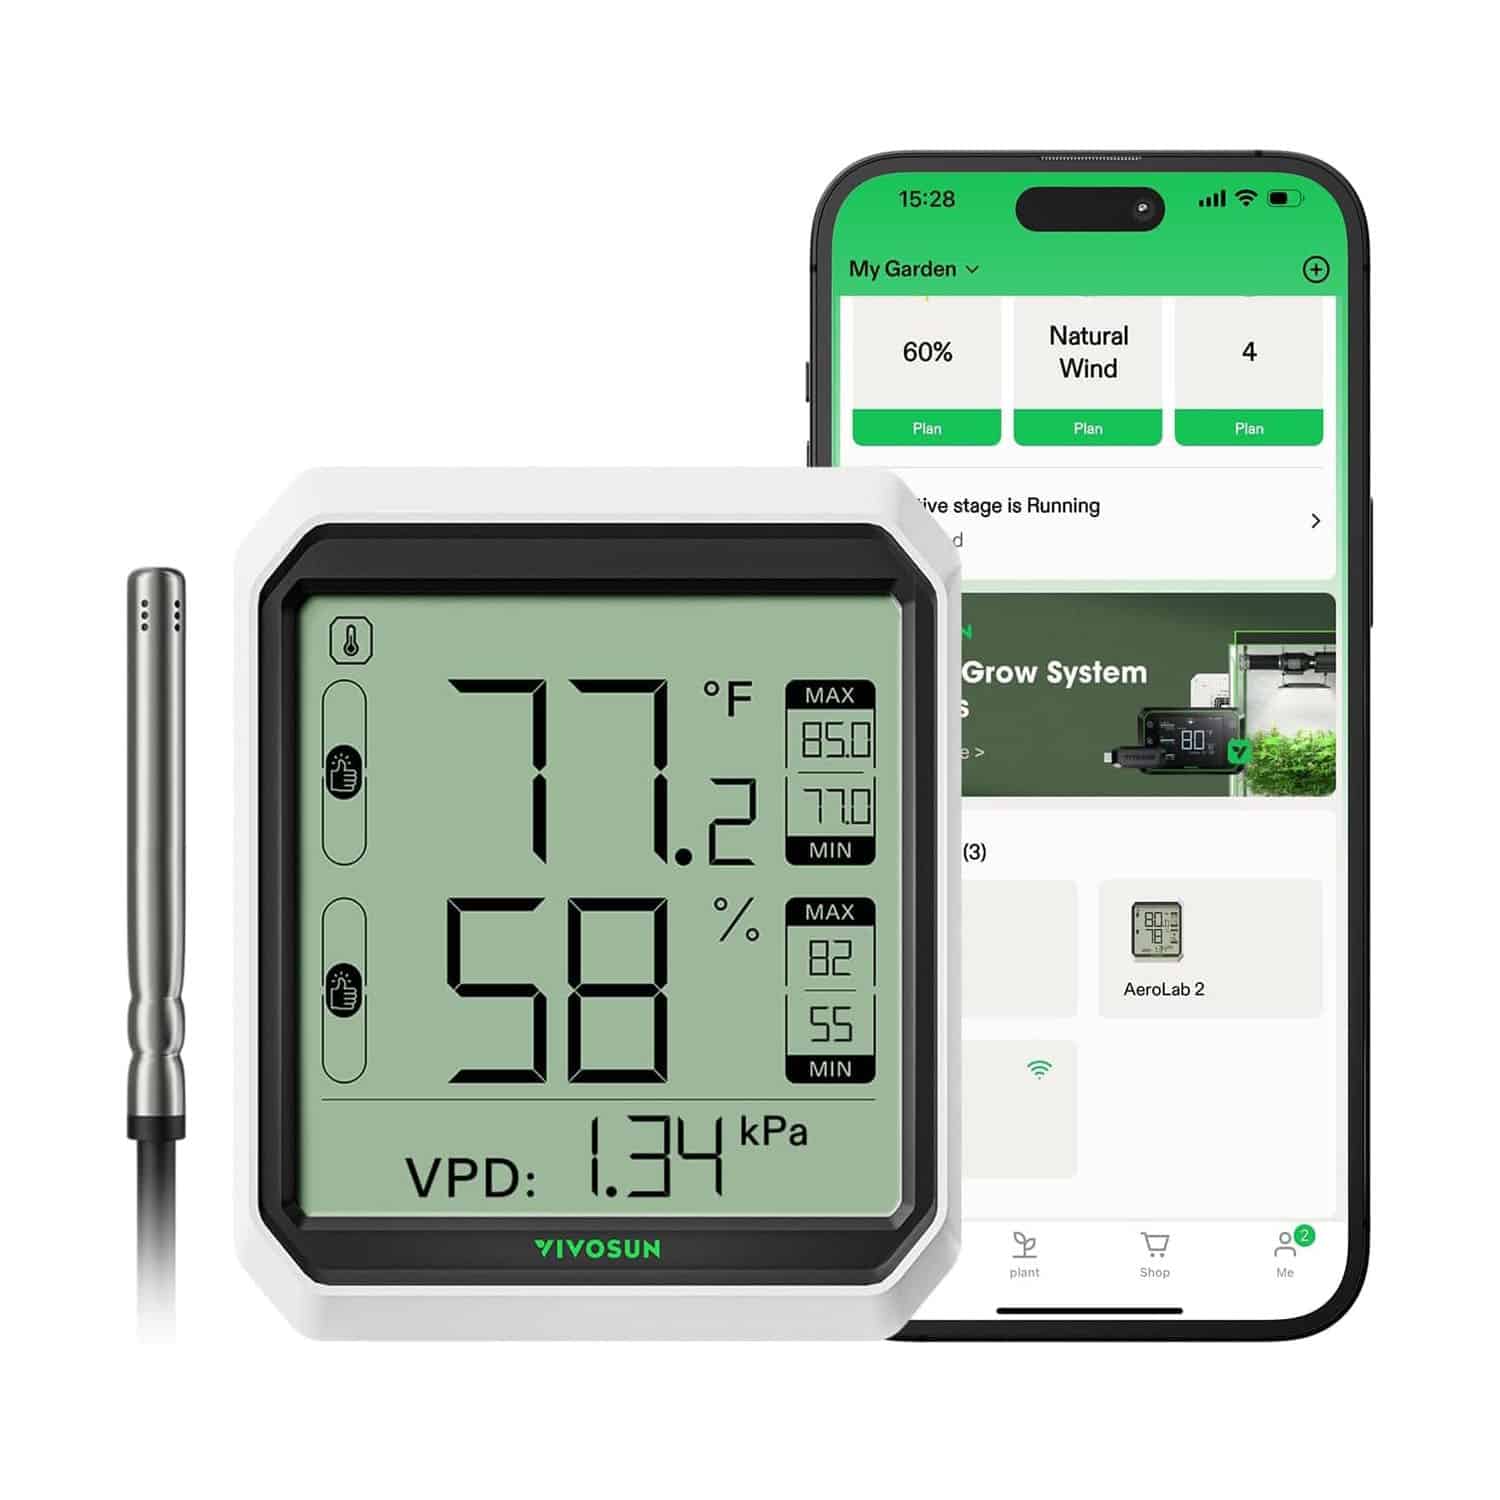
To keep an eye on conditions inside the cabinet, I added a VIVOSUN AeroLab wireless Bluetooth hygrometer thermometer, which cost $18. I chose the version with a remote probe, allowing me to mount the main display unit outside of the cabinet while placing the probe inside.
I routed the probe through the same hole in the bottom of the cabinet that I drilled for the heat mat and dry rod wiring. This keeps everything clean and sealed while still providing accurate readings from inside the cabinet. The AeroLab connects to a smartphone app, making it easy to check temperature and humidity remotely without opening the cabinet and disturbing the internal environment.
This is especially useful since the ideal humidity range for Cerakote storage is between 20–50%, and catching changes early helps prevent moisture-related issues.
Time Breakdown and Total Cost
Total Time involved
- Cabinet assembly: 45 minutes
- Insulation installation: 1.5 hours
- Heat mat, dry rod, and thermostat installation: 30 minutes
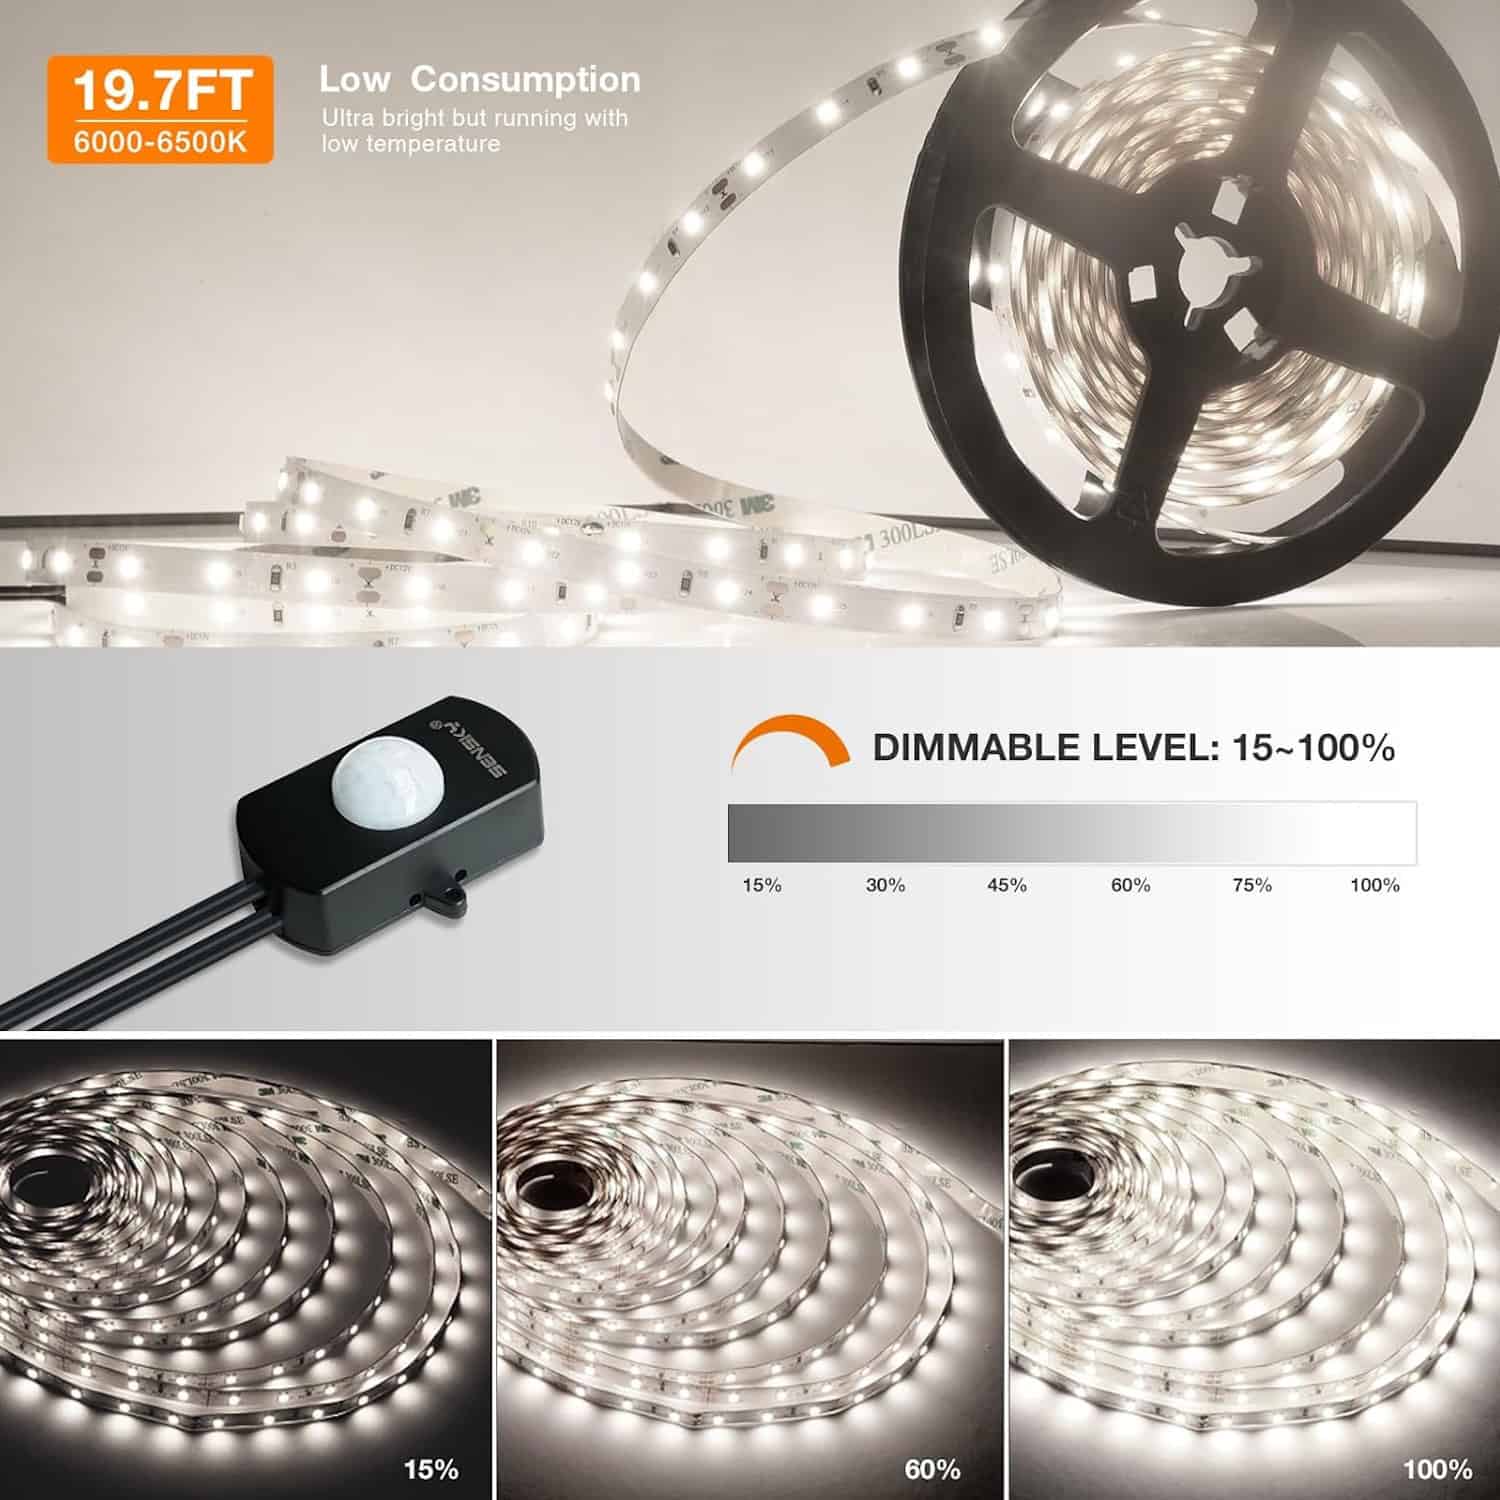
- LED strip lighting installation: 2 hours
- Mounting surge protector: 30 minutes
- Mounting thermometer/hygrometer: 35 minutes
- Final wiring cleanup and cable management: 1 hour
Total build time: approximately 6 hours and 50 minutes
Full Cost Breakdown
- Ebern Designs rolling metal cabinet: $125
- VIVOSUN heating mat: $16
- MaxSafes dehumidifier dry rod: $20
- VIVOSUN digital thermostat controller: $17
- VIVOSUN AeroLab Bluetooth hygrometer thermometer: $18
- Teflon tape: $14
- Reflectix R-21 insulation roll: $27
- 24″ × 24″ × 1″ foam insulation board: $10
- Surge protector: $13
- LED strip lighting: $26
Total project cost: $286
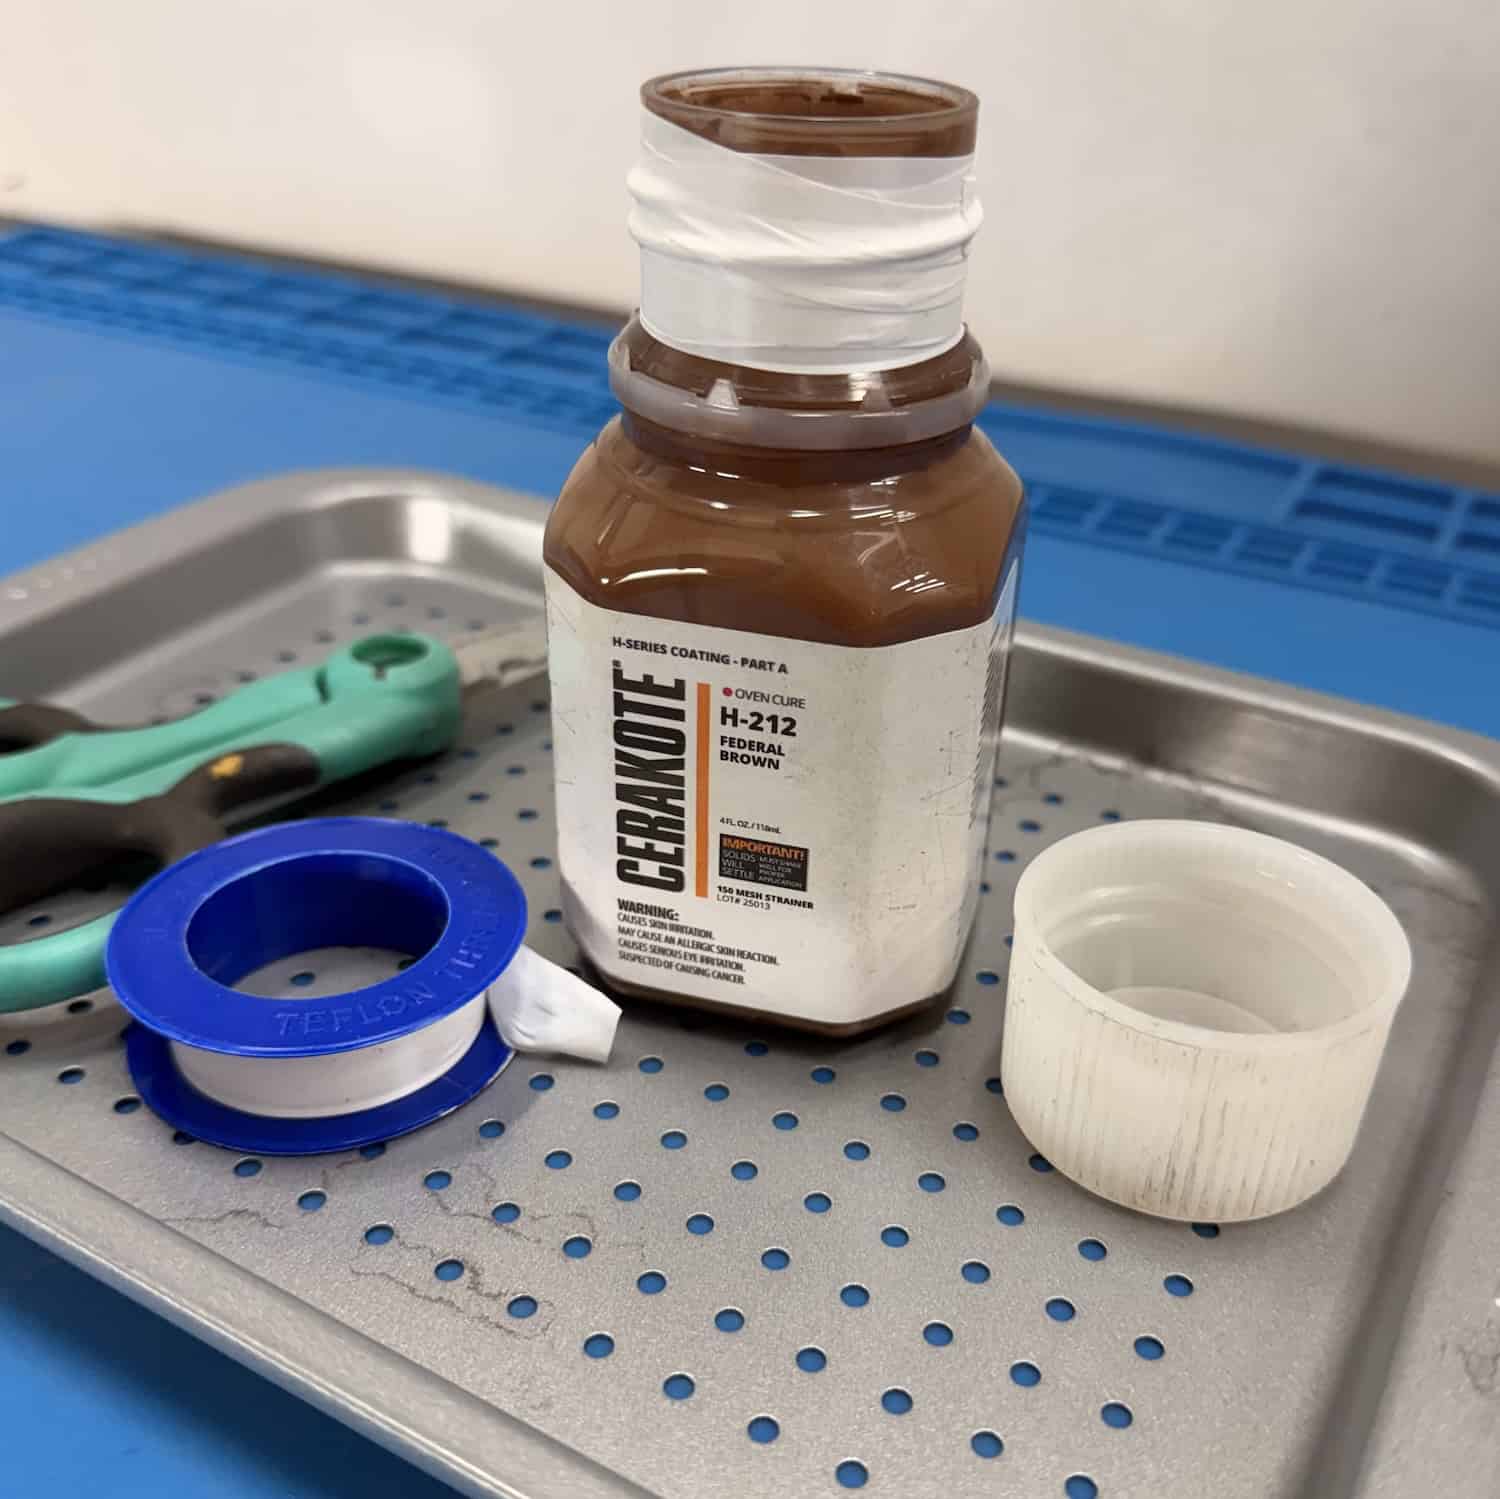
Keeping Bottle Tops Clean and Sealed
Another important part of preserving Cerakote is keeping the bottle tops and caps clean after every use. Any dried material left on the threads or inside the cap can prevent a proper seal, allowing air to slowly enter the bottle and shorten its shelf life. After each use, I wipe the bottle threads and inside of the cap with acetone or lacquer thinner to remove any residue. Once clean, I wrap a small amount of Teflon tape around the bottle threads before sealing the cap. This extra step helps create a tighter seal, limits air exposure, and goes a long way toward extending the life of the Cerakote—especially for partially used bottles.
Final Thoughts
For under $250, I now have a mobile, insulated, temperature- and moisture-controlled Cerakote storage cabinet that keeps my materials in ideal conditions year-round. This setup protects my investment, extends the life of my Cerakote, and keeps everything organized and easy to move around the shop. If you work with Cerakote regularly, this kind of storage solution pays for itself quickly in both savings and peace of mind.


- 15 views