


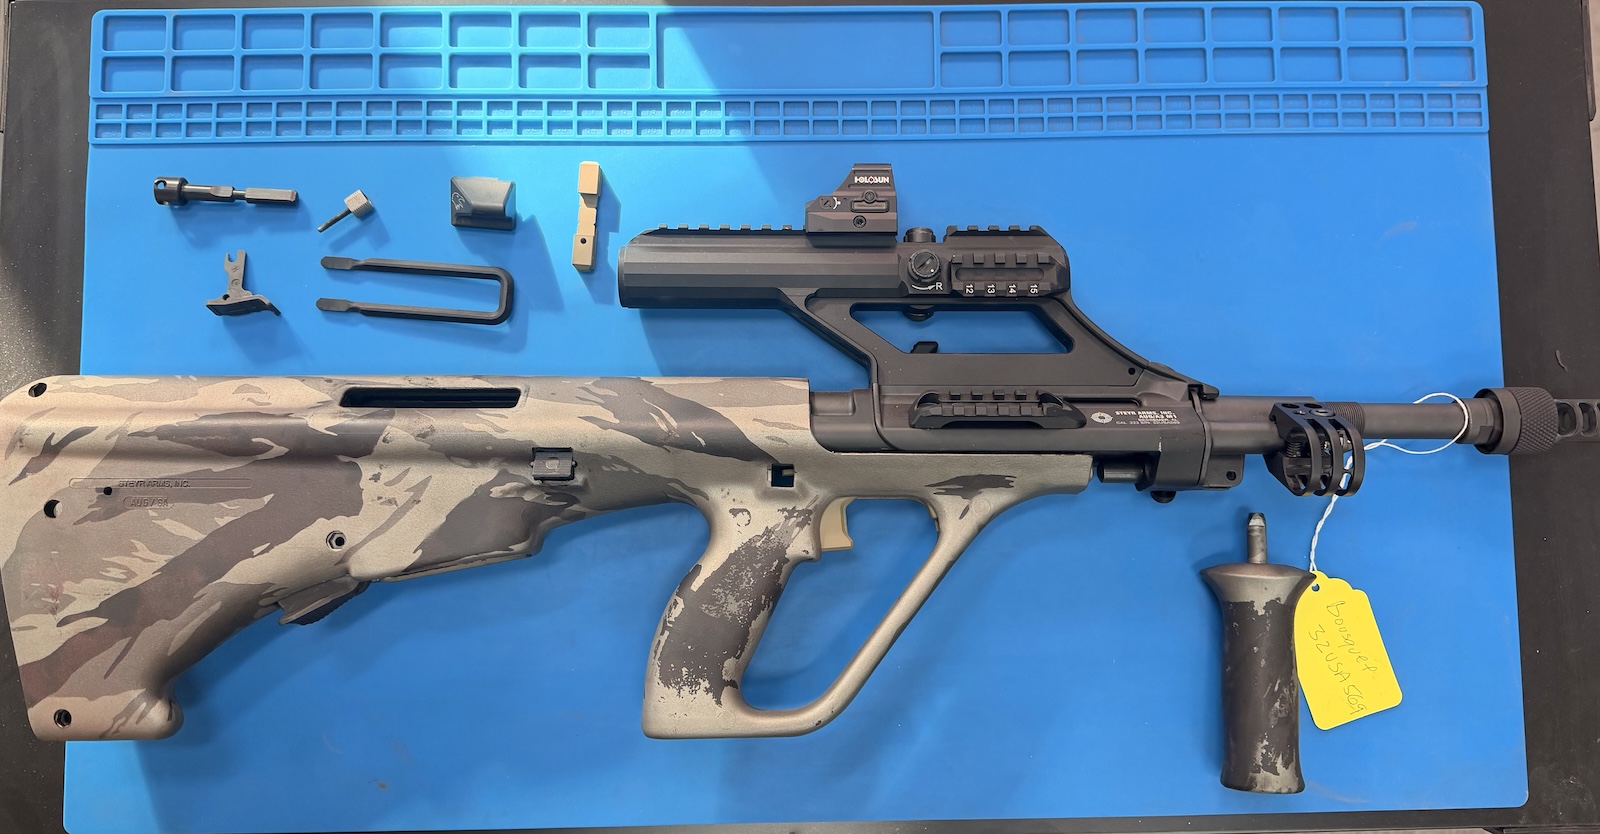
Custom Cerakote Tiger Stripped Steyr AUG Bullpup Rifle
Project Details
This project features a Steyr AUG bullpup rifle finished with a custom Cerakote tiger stripe camouflage pattern. Multiple H-Series colors were layered using precision vinyl stencils, producing a durable, heat-cured finish with distinctive contrast, depth, and long-lasting protection.R5. -
Custom Cerakote Tiger Stripped Steyr AUG Bullpup Rifle


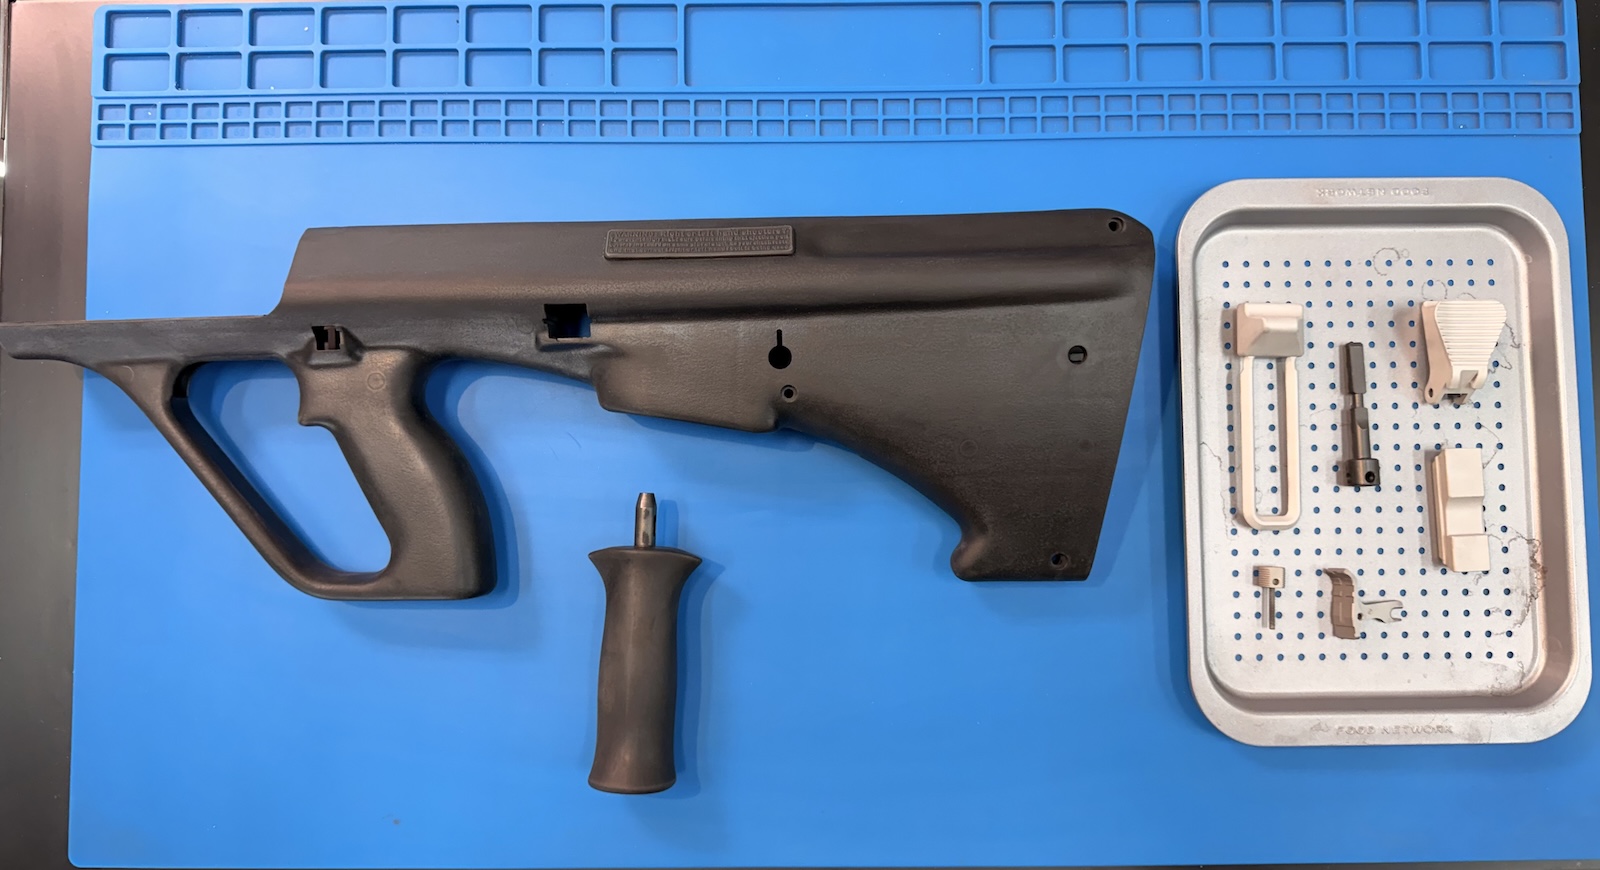
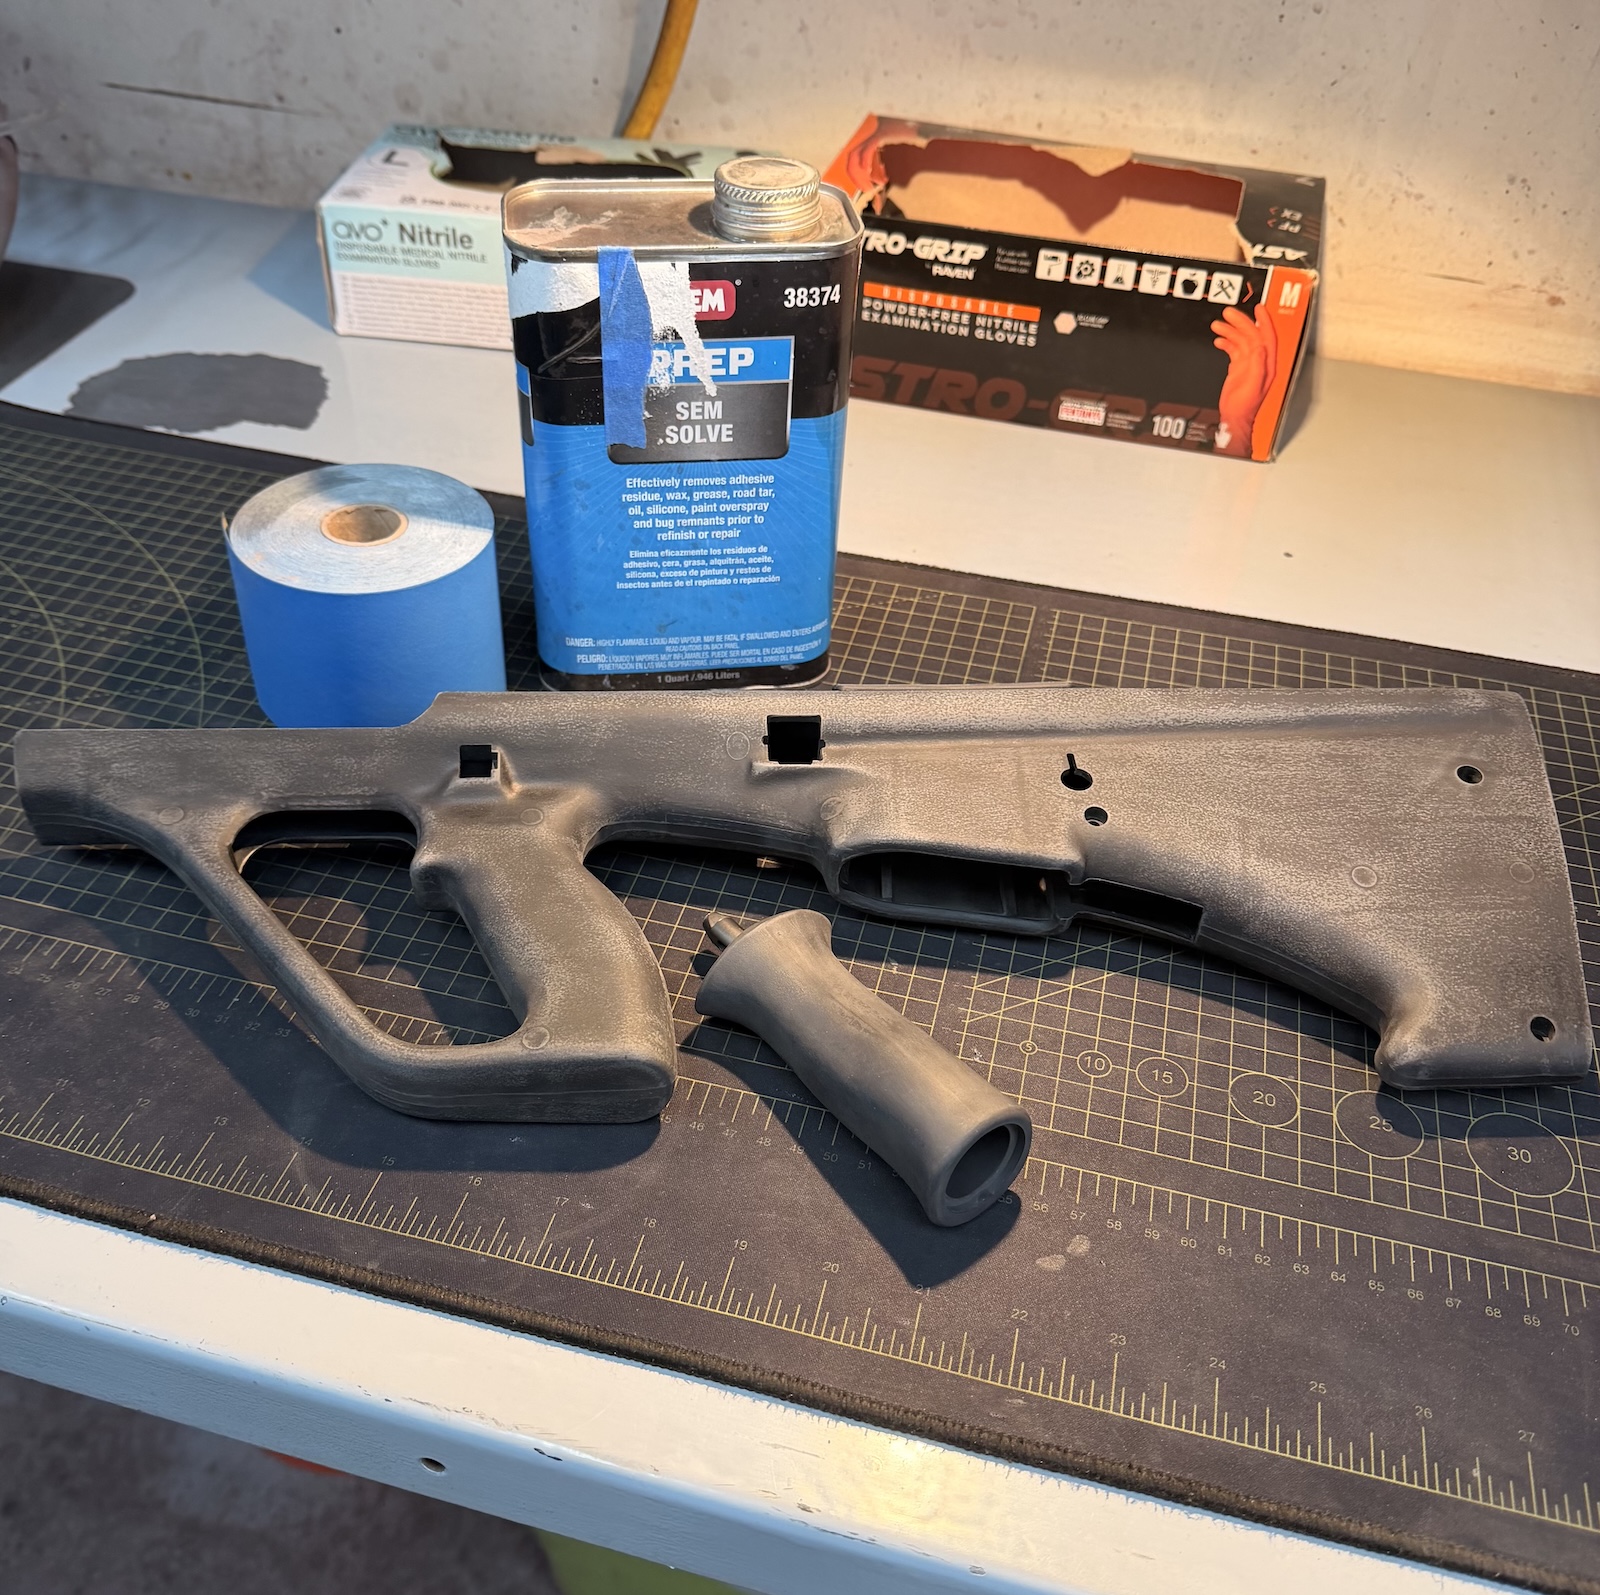
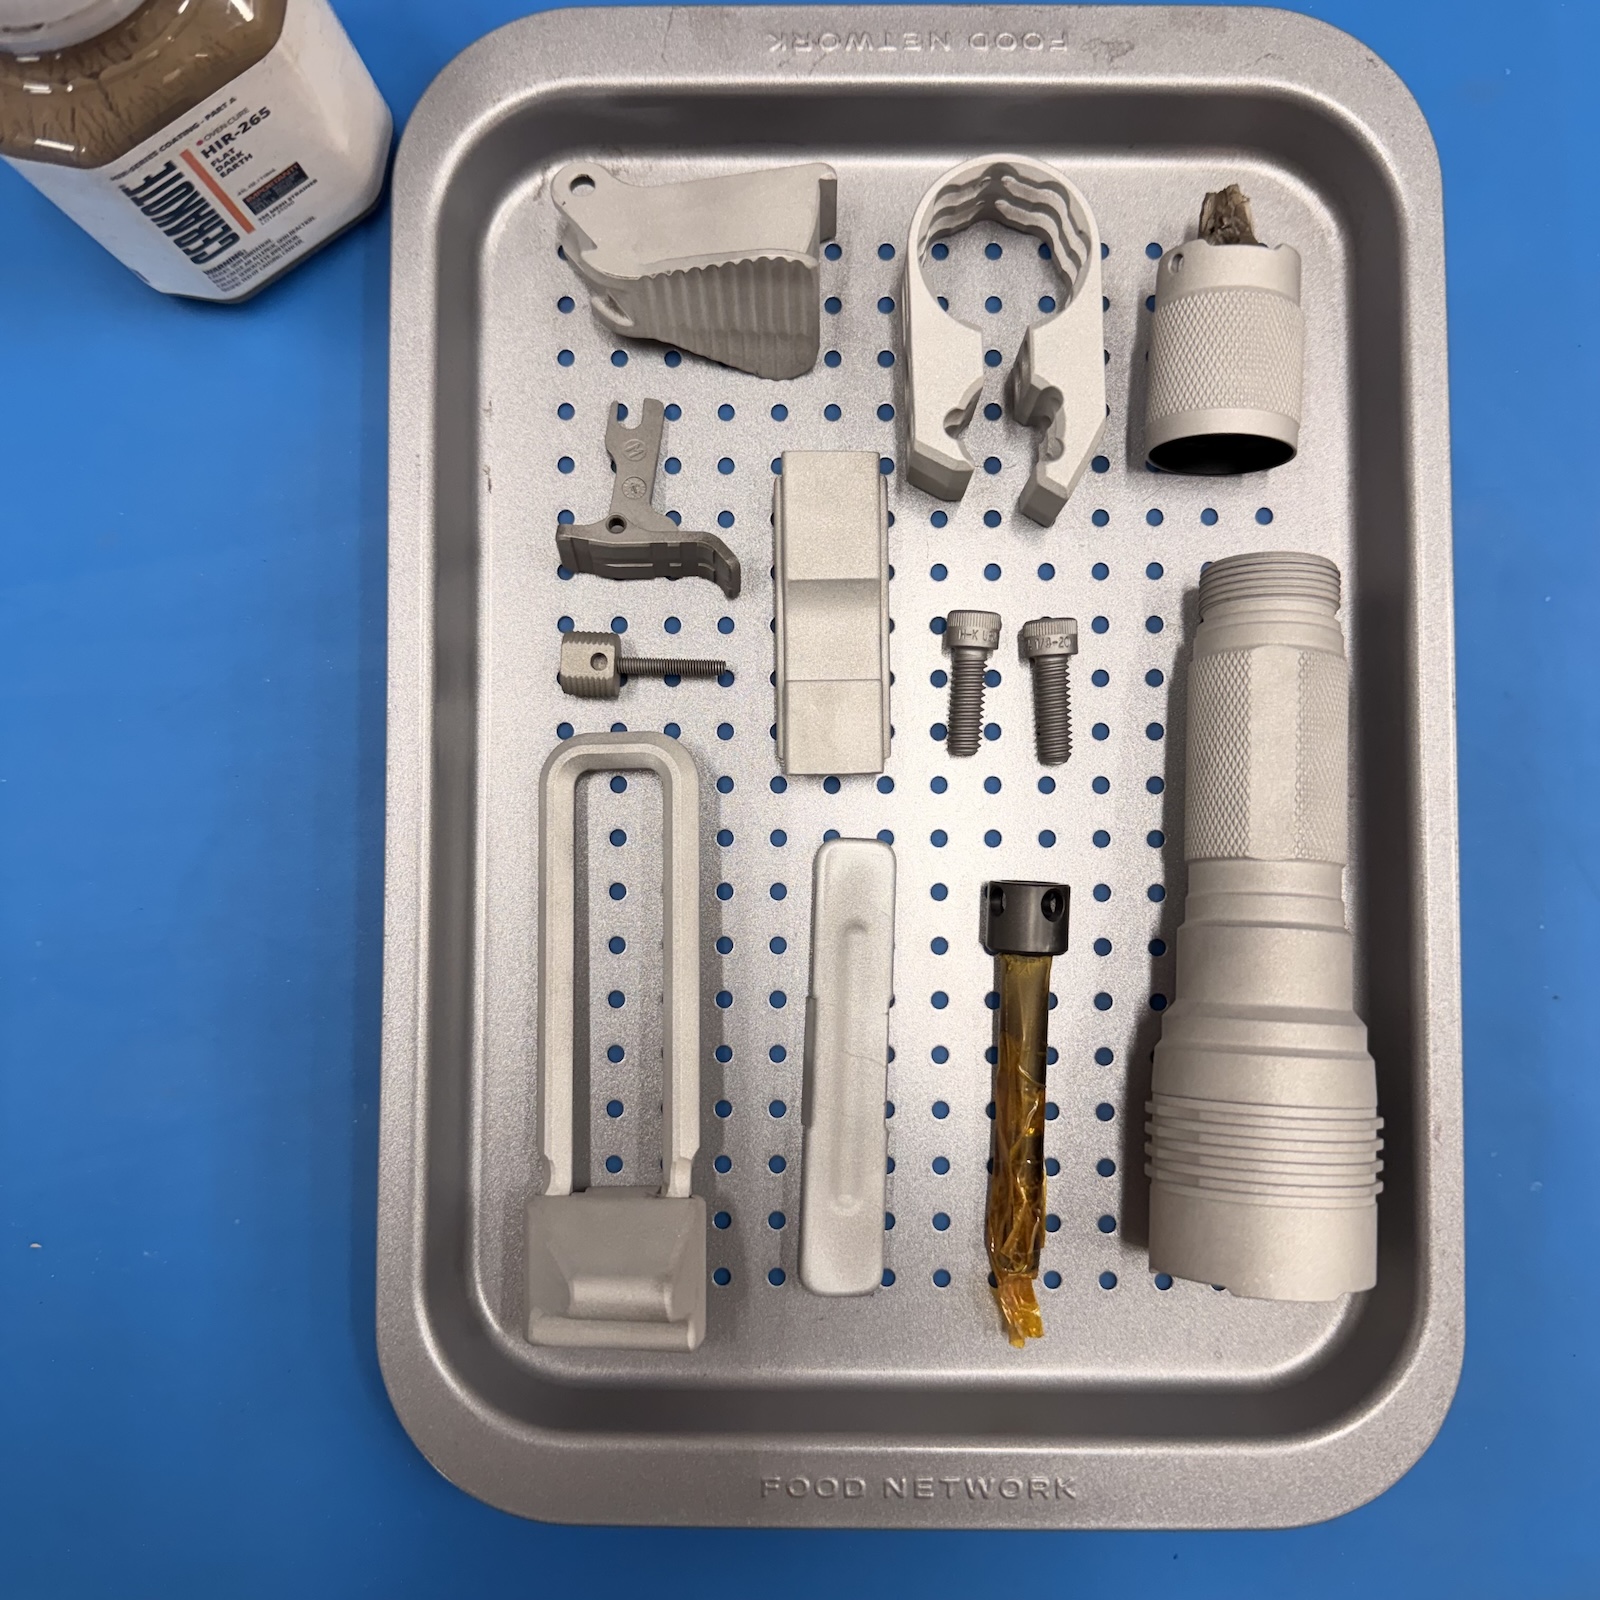
The frame was first sandblasted to create a uniform surface profile, which helps the coating properly adhere to the material. After blasting, the frame was thoroughly cleaned using a plastic-safe degreasing cleaner called Sem Solve. This step removes any oils, dust, or blasting residue that could interfere with coating adhesion.
Once the frame was completely clean and dry, it was sprayed with an adhesion promoter. Cerakote tends to adhere more reliably to metals than it does to polymers, so the adhesion promoter is applied to polymer parts to ensure a stronger and longer-lasting bond. Two very thin coats were applied. It is important not to apply the promoter too heavily—if it goes on too thick, it can easily run or form drips, which can affect the final finish.
After the adhesion promoter dried, the surface was lightly sanded with 1000-grit sandpaper. This step helps create a smooth and consistent base for the coating layers that follow.
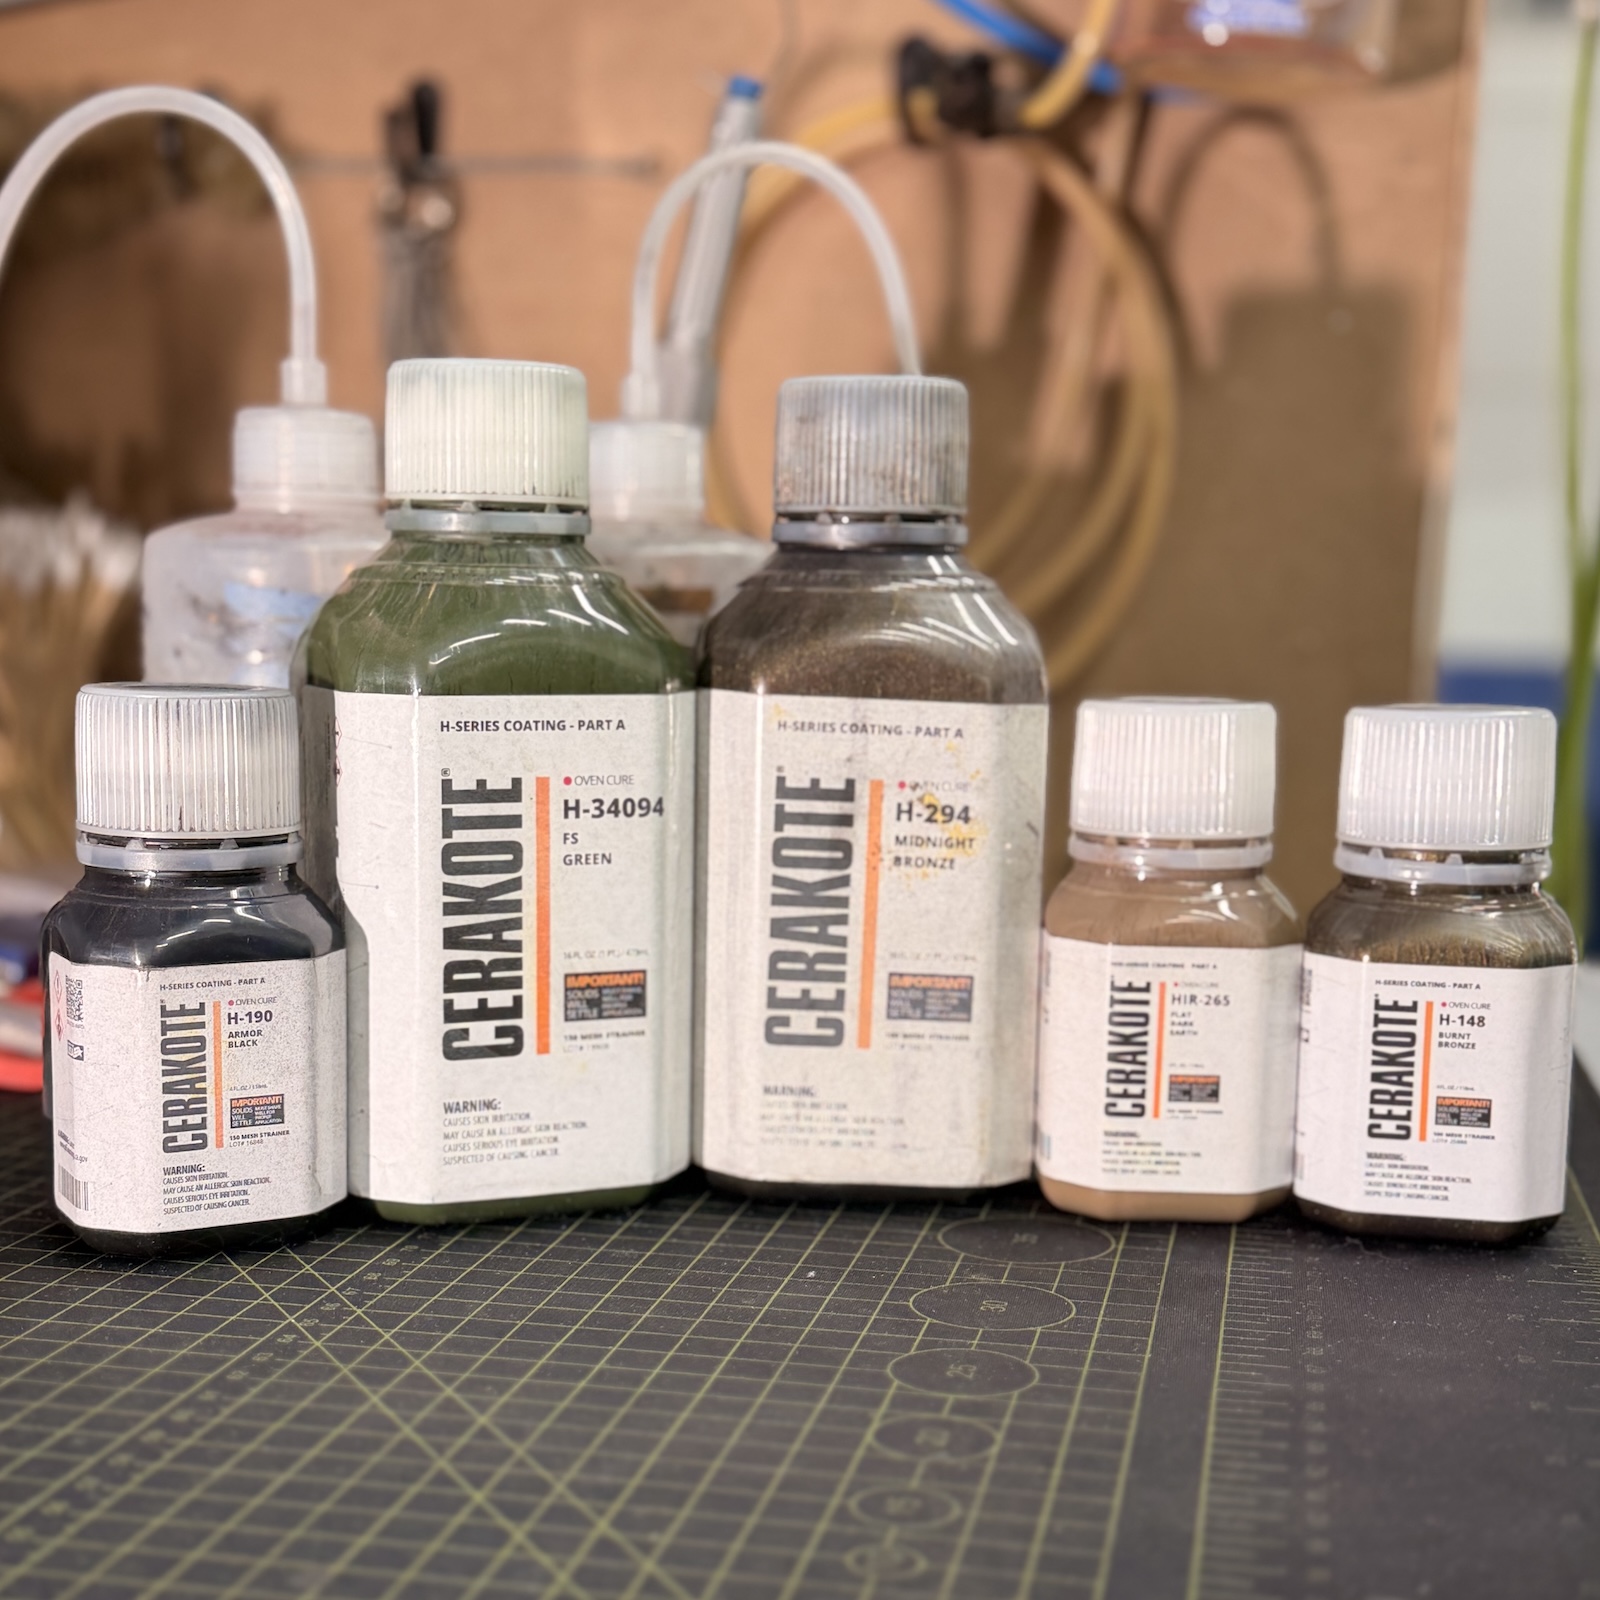
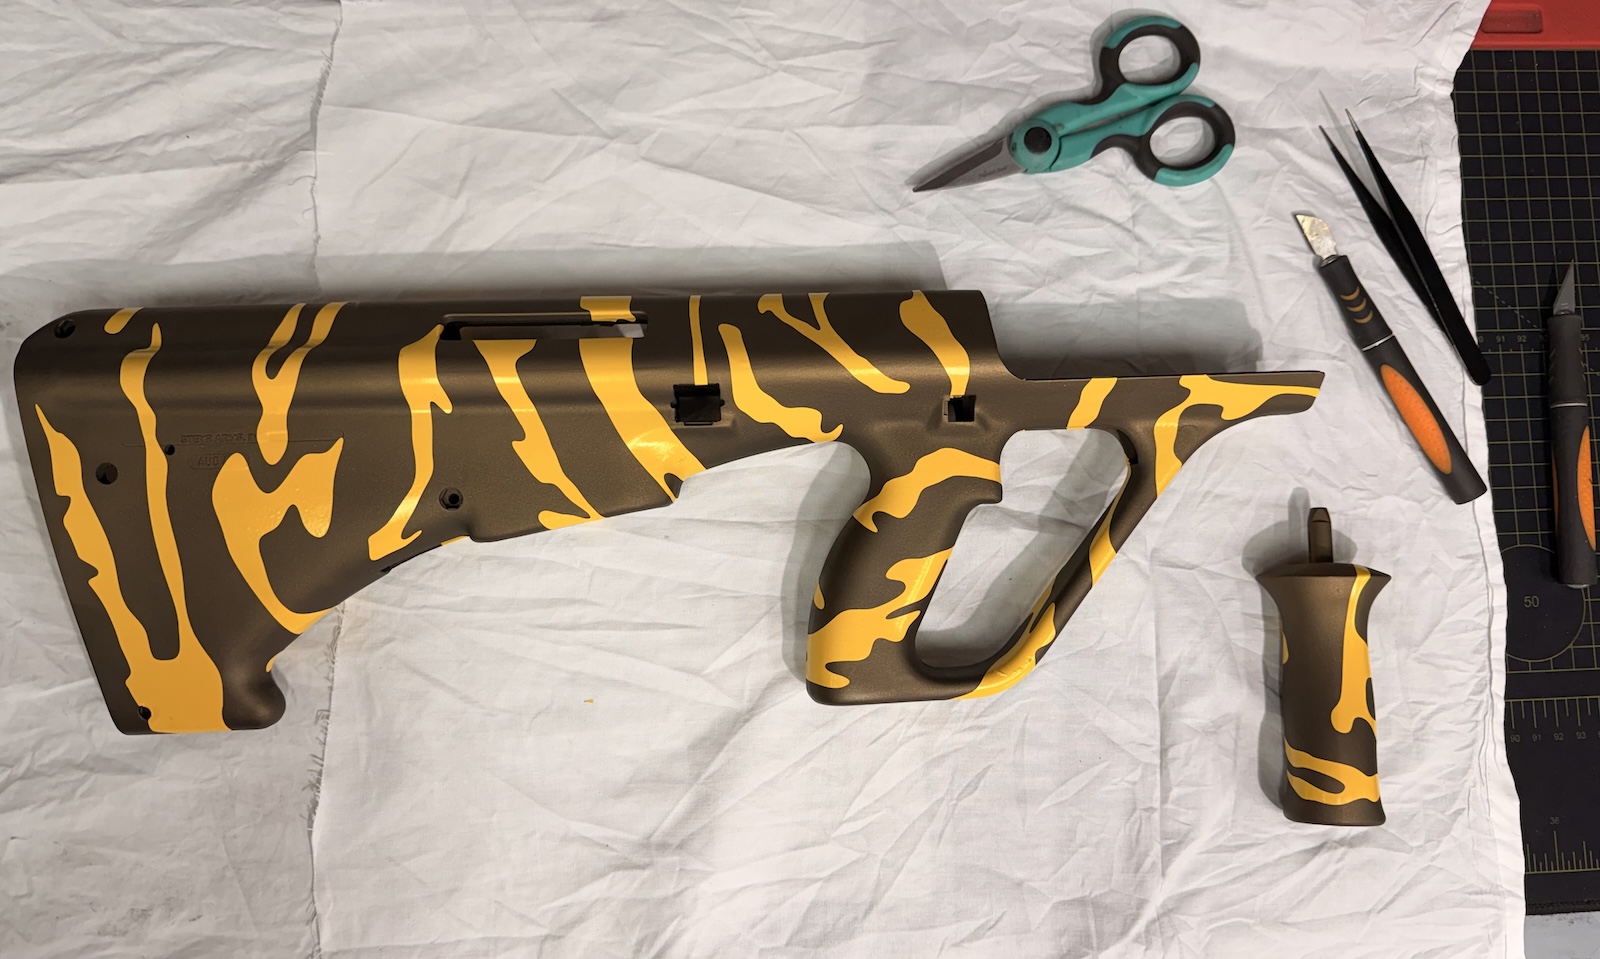
The first Cerakote layer applied was H-Series Burnt Bronze, followed by a second layer of Midnight Bronze to create a subtle vertical fade effect between the two colors.

Next, stencils made from high-temperature vinyl were applied. These stencils were custom designed in Adobe Illustrator to achieve the desired pattern and layout.
Once the first layer of stencils was applied, the part was baked for 17 minutes at 160°F. Metallic Cerakote colors tend to remain tacky a bit longer than standard colors, so it’s best to flash them slightly longer to ensure they are fully set before applying the next layer of stencils.
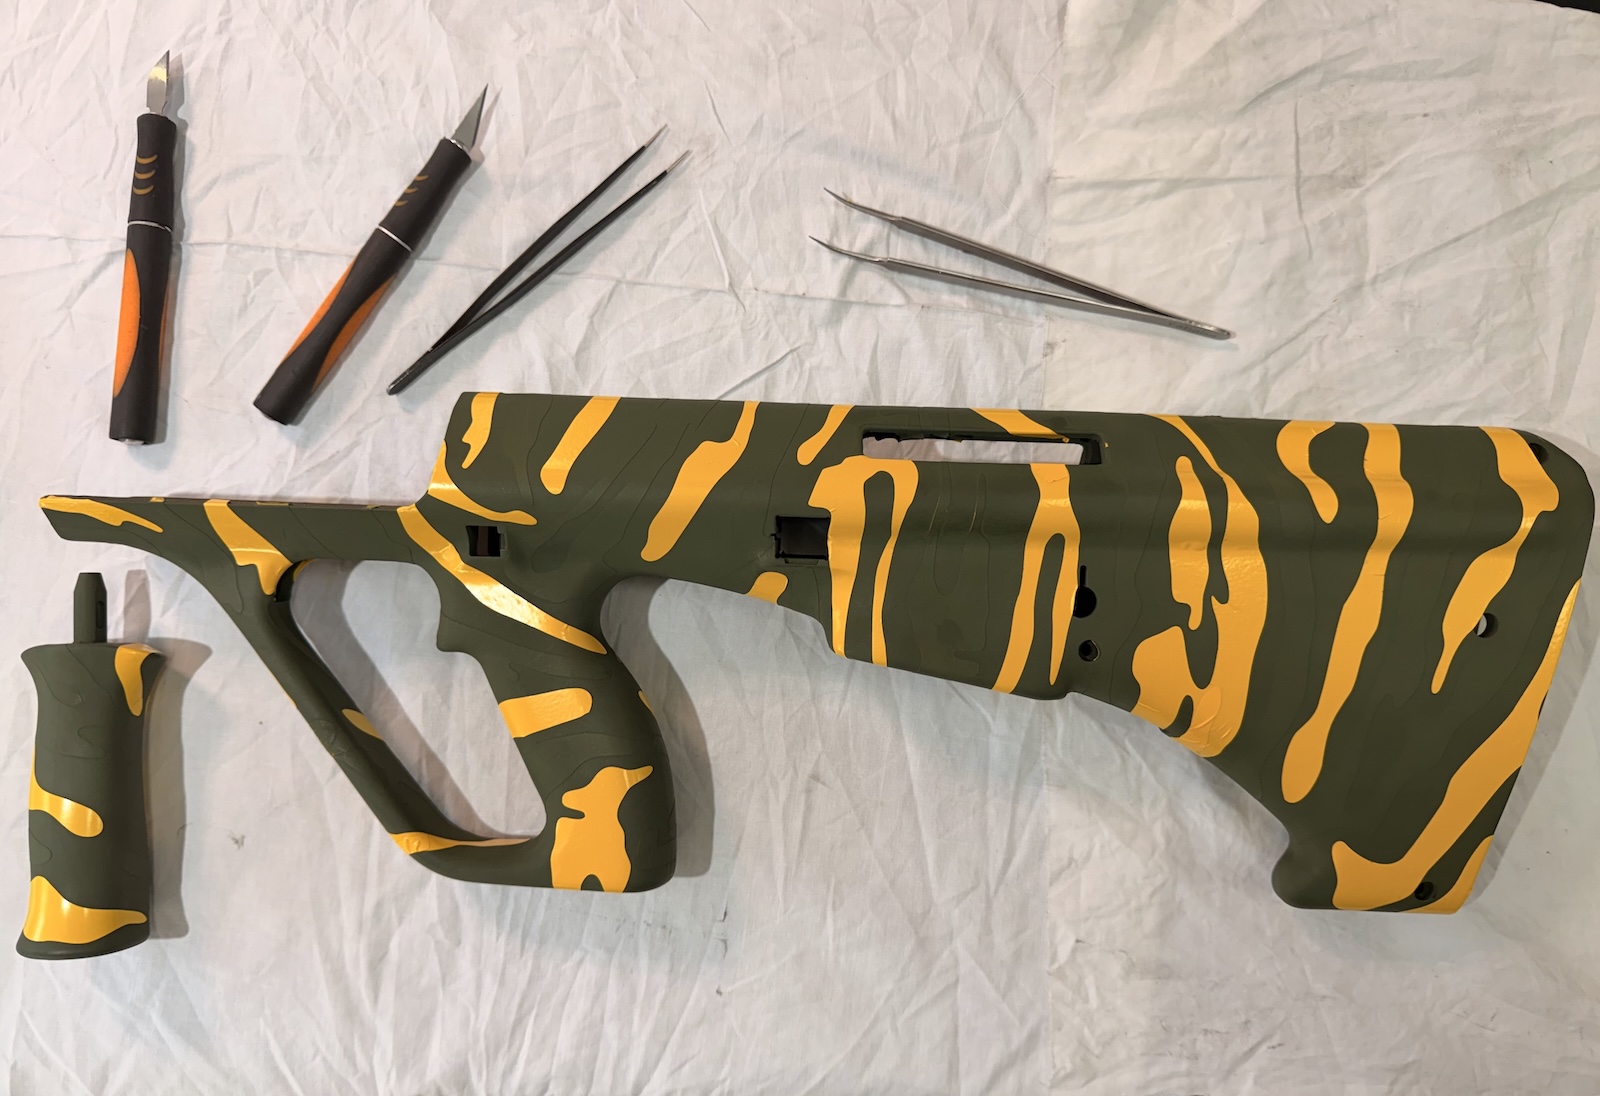
After the initial flash cure, H-Series FS Green was applied. The part was then flash cured again, and additional stencils were added. For this stage, new stencil shapes were designed to fit precisely into the negative spaces created by the previous layer while maintaining consistent spacing between the pattern elements.
With the second set of stencils in place, the part was sprayed with H-Series Armor Black. Once this final color layer was complete, the frame was fully cured at 500°F according to Cerakote’s curing specifications.


After the curing process was complete, the stencils were carefully removed using a plastic razor blade to avoid damaging the fresh coating. The part was then washed with soap and water. Some adhesive residue remained from the stencil material, so Sem Solve was used again to gently remove it. In cases where there is heavier residue, Goo Gone can also be useful for cleaning off stubborn adhesive.

